This easy recycled art project will help teach students the benefits of recycling by creating a craft from recycled materials. Students will learn the influence of man-made objects in art projects. This article is part of a series of articles on art and crafts from recycled material.
Objective
This project is an easy art project to help teach children benefits of recycling, and uses their creativity to create art. The students bring their own materials from home which teaches them to reuse metal objects in a new way. The procedure is easy to follow and will result in unique creations of art out of recycled materials.
Materials:
- heavier paper such as manila tag
- cardboard or old mat board
- purple, black and silver acrylic paint
- paintbrush and old toothbrush or sponge brush
- hot glue gun and glue
- old used metal objects: tin foil plate, small nuts, bolts, washers, spools, screws, pen springs, staples, paper clips, brackets, safety pins, tacks, metal buttons, snaps, and anything not being used and brought from home
Sample Portfolio
Procedure
Write the objective of the project on the board so that students are aware that both recycling and creativity are two influences in creating art projects. Then write or demonstrate the procedure for mixing the paint, and using a hot glue gun.
Step 1 - Preparing the Background
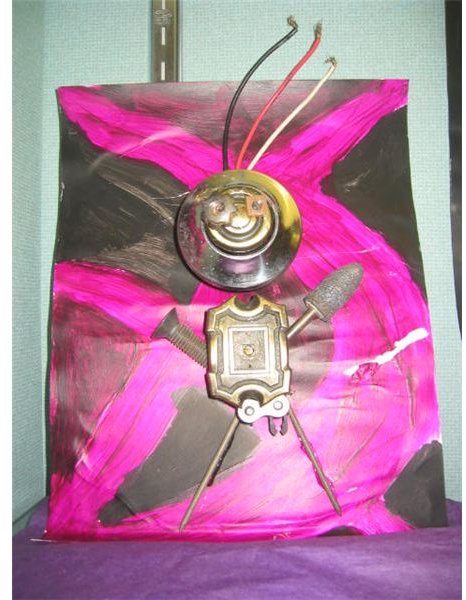
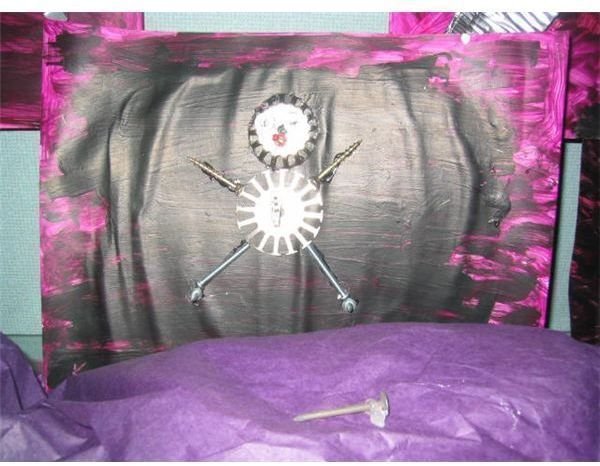
Paint an entire background on manila paper or cardboard using purple, and black added to purple to create different shades of color. Have the students mix the acrylic paints on the tray to create different colors. When dry, use an old toothbrush or paintbrush to splatter silver acrylic craft paint on background.
Alternatively you can paint a silver colour onto cardboard, then sponge paint a purple colour onto the silver. The cardboard can be cut out and used for flat parts of the robot such as the body.
Step 2 - Creating the Robot Design
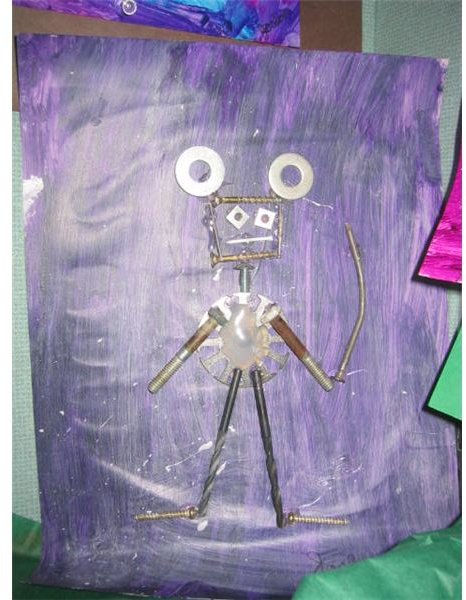
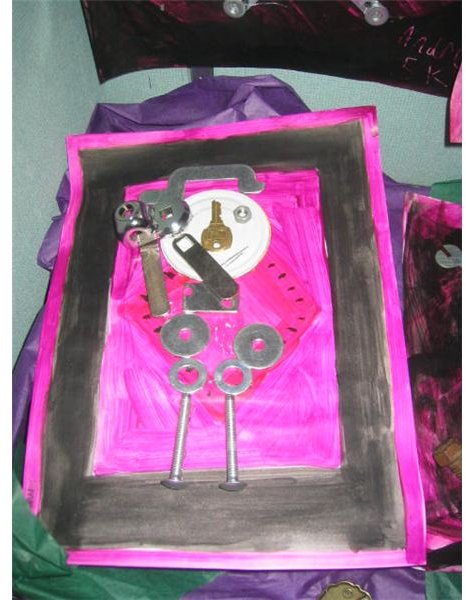
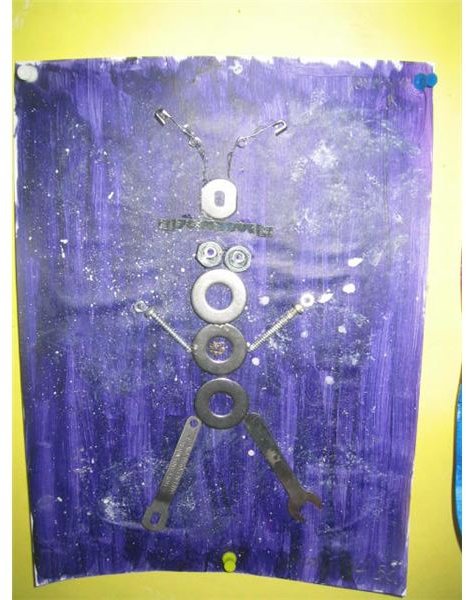
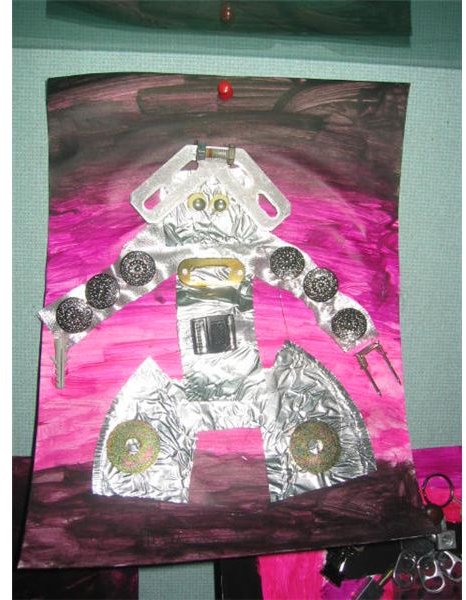
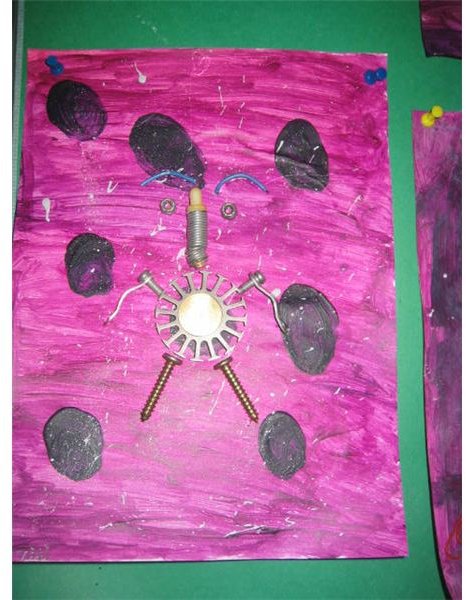
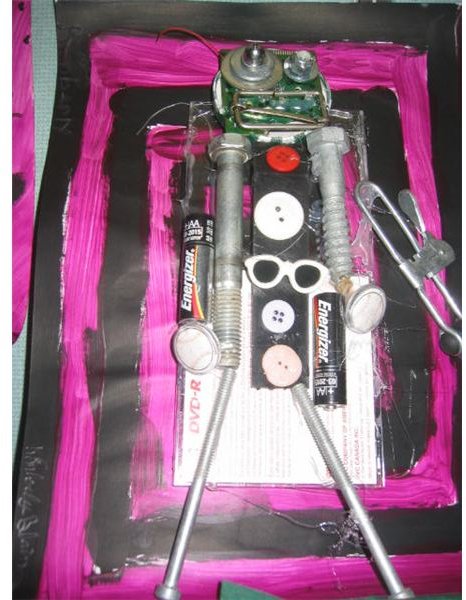
Arrange metal pieces on the paper to create a head, body, arms and legs of a robot. Try not to layer the metal pieces but to keep them flat on the paper. You can cut a body from a tin foil plate or the painted cardboard pieces. Then create indentations on the foil using a pen tip to create buttons or designs on it.
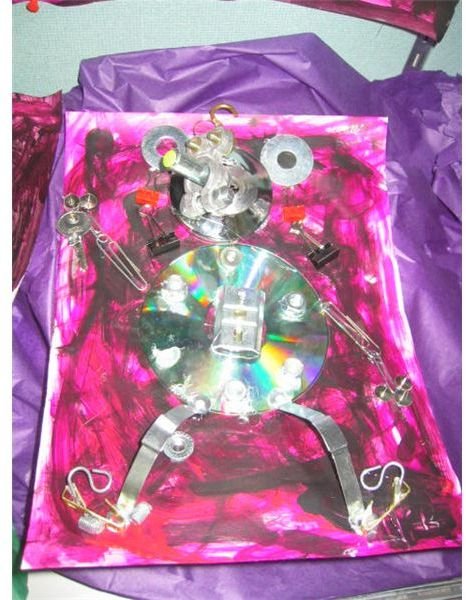
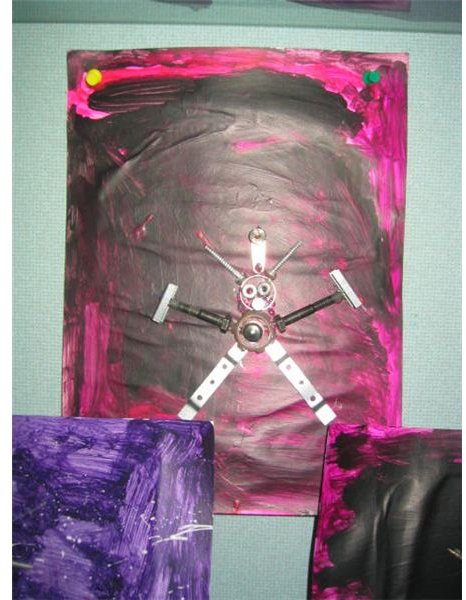
Use round washers and metal nuts at the arm and knee joints. Long screws or pen springs can be used for arms. Round objects can be used for eyes. Students should be encouraged to use their creativity here as no two projects will look alike. Use a hot glue gun to glue all the pieces to the paper or cardboard.
Step 3 - Finishing
The pictures can be displayed on a wall with thumb tacks if not too heavy. If using manila tag paper, you can glue it on to old mat board for a strong backing. Some old lights, solar panels or battery operated parts may still work to light up the display. Computer chips or old cds can be used to add shine to the display. Since every picture will be different, its a good idea to display many together to show all the unique creations.
Hints and Tips
Remind students that it is not a 3 dimensional sculpture but a flat one. Use flat pieces of metal rather than larger or heavier nuts and bolts. Do not use too heavy of pieces of metal as the glue will not hold. Pictures should be light enough to mount on a wall. Glue the paper to cardboard or mat board backing for extra support.
On a plastic tray, put purple, red and black paint and have the students create their own color from the 3 separate ones. Use the lesson to teach about shades and how to change a color to a darkened color.
Use the lesson to discuss the influences on art. Sometimes art comes from our creative mind, our man-made environment rather than our natural environment. People can see art and beauty in old throwaway items. Show other art that has been created from metal.
Use the lesson to discuss reusing materials than would not otherwise be used. Ask the students to bring in old metal materials from a toolbox or sewing box at home. There will be more than enough materials to use. Discuss other uses of the materials. The benefits of recycling is that beauty can be created from something that otherwise might have been thrown away and cannot biodegrade in our landfills for a long time.
Recycled Art Display
A special section of a display case could be set up for recycled art to be displayed. Other benefits of recycling could be displayed along with the art section. Every month a new conservation theme such as alternate transportation, conserving energy, or recycling paper could remind students about caring for the earth. Science and art displays together would be very effective to encourage recycling and reusing materials. The theme could be displayed on handmade paper, or each month out of a different material such as recycled pop cans, plastic lids, old light bulbs or used plastic pencils.
This post is part of the series: Recycled Art Projects - Creating Beauty from Recycled Materials
This series will be about easy to create art and crafts from recycled materials. Each project will use recycled materials in a new way. Kids will learn easy art projects to create robots, shoes, purses, and bowls from recycled material.