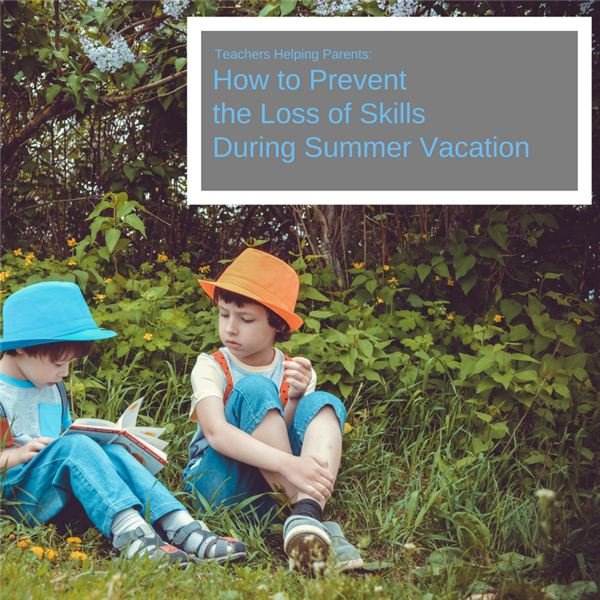
Most kids love being outside in the summertime. It’s a perfect time to inject science into your outdoor activities. Encourage use of all five senses. Here are a few fun and simple ideas to learn about the sun.
Objective
1. Make observations to determine the effect of sunlight on Earth’s surface. [Clarification Statement: Examples of Earth’s surface could include sand, soil, rocks, and water] [Assessment Boundary: Assessment of temperature is limited to relative measures such as warmer/cooler.] SCK-PS-3-1 (STEM Curriculum)
2. Communicate observations with pictographs, pictures, models, and/or words.
SC00-S01-C04-01
Materials
- Five items to place in the sun (Suggestions might be a rock, stainless steel spoon, plastic container, t-shirt, a drinking glass with water, plastic toy, etc.)
- Six colors of construction paper including black and white
- Ice cubes
- Pencil and paper
- Dark colored construction paper or special sun print paper (available thru Amazon)
Activities
1. Let’s go outside!
- Walk around your neighborhood and talk about the changes you see in the summer. Notice the trees, flowers, birds, vegetable gardens, outdoor activities and the clothing people wear.
- Can you feel the sun’s heat when you are walking?
- Sit outside in the evening. Are there fireflies? Is it later when it gets dark?
- Use a notebook to create a Summer Science Journal by using words and drawings of what you have observed.
2. What Materials Become Hot in the Sun?
- Use the articles made of different materials that you have gathered. Place them in the direct sunlight for an hour or two.
- In the meantime, use some paper, pencil or crayons to draw simple pictures of the items that you have placed in the sun. The child will use this to record the results.
- Sit in front of the items in the sun and touch each item. Which one seems to be the hottest? Which is the coolest? This may take some discussion to decide. What materials seem to get the hottest? Cloth? Metal? Glass? Plastic?
3. How does color affect how fast an ice cube will melt?
- Place five or six pieces of construction paper in direct sunlight. Make sure you have one white piece and one black piece of paper.
- Prepare a page in your Summer Science Journal with the colors that you are using to record your results.
- Place an ice cube on each piece of paper.
- Watch what happens!
- Which ice cube melted the fastest? Slowest?
- How can we use this information when choosing the color of our clothing in the summertime? Will we stay cooler in a black shirt or a white shirt?
4. Make a Sun Print!
- Allow your child to gather a few objects that could be used to make a sun print. Use some things from nature: leaves, flowers, rocks or twigs and from inside the house: forks, buttons or wheels.
- Arrange the items on a few pieces of dark construction paper or sun print paper. For sun print paper, you will want to follow package directions. For dark construction paper, just arrange the objects on the paper and place in the sun until the color around the objects fade.
- Why is the paper darker in the covered areas? (The sun faded the exposed areas.)
- What does that help us learn about the sun?
5. Protect Yourself in the Sun!
We have learned that the sun can fade things and heat things up. How can we protect ourselves when we are out in the sun? Have a conversation with your child about ways to stay safe in the sun. Encourage things like sunscreen, sunglasses, light colored clothing, hats and staying hydrated by drinking water.
References
- Herrington, Lisa M. How Do You Know its Summer? Children’s Press, 2014.