This science and art lesson on arthropods uses the pinch pot method of clay making to teach the 3 basic parts of arthropods. The phylum of arthropods is a huge class of invertebrates that students will have fun creating in clay. Science made fun through art is the goal of this lesson plan.
Arthropods: Making Clay Sculptures
When students ask “What is an arthropod?” teachers usually begin with the entire classification system in science. Teachers can then use this lesson plan on making clay arthropods to help students learn the 3 basic parts of all arthropods. They will be using a simple method called the pinch pot method in clay making.
Preparing the students:
Introduce the scientific classification system in your science lessons through reading, diagrams, charts and practice at classifying. When teaching about the broad class of invertebrates, and in particular arthropods, pictures and definitions are useful. For a series on methods of teaching about scientific classification use Scientific Classification: Phylum Lesson Plan .
Discuss and label a diagram of the 3 main parts of arthropods: head, thorax and abdomen. Then using the materials below, create a clay arthropod with the students.
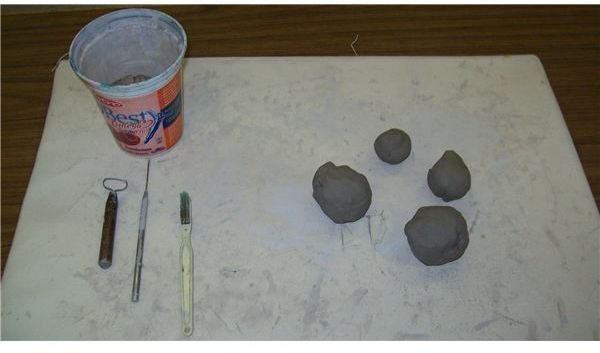
Materials needed:
- Sculpture clay with medium texture
- Slip in a plastic container
- Clay tools: Old toothbrush, clay scraping and texturing tools
- Canvas covered board or old piece of denim
- Kiln and pottery glaze (if planning to fire clay sculptures)
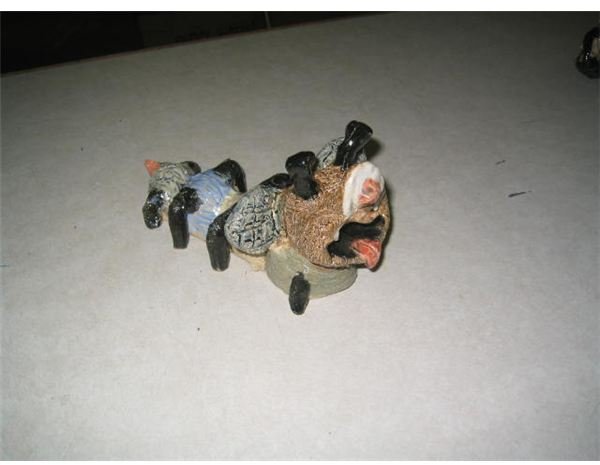
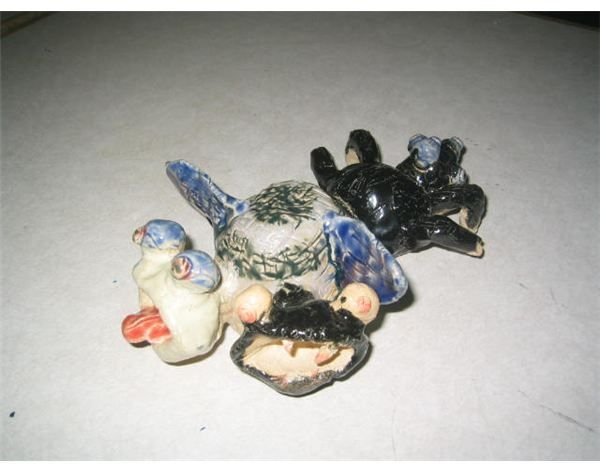
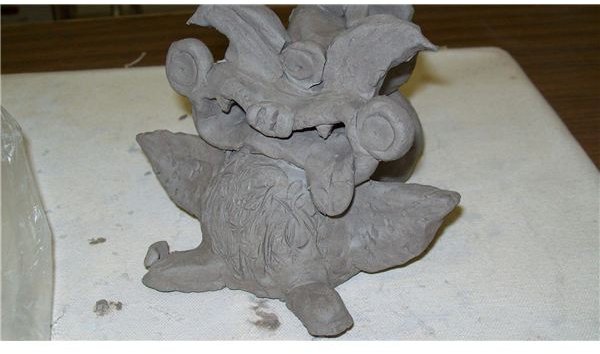
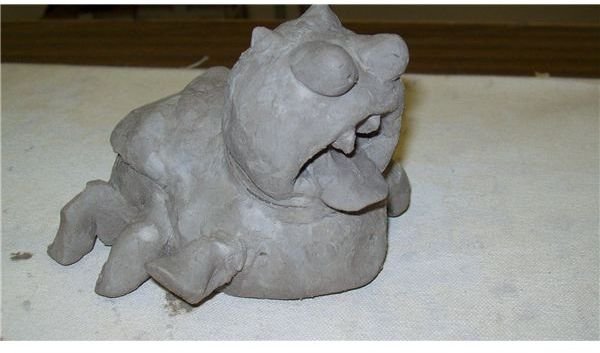
Clay Arthropods With Adaptations
Clay Pinch Pot Procedure
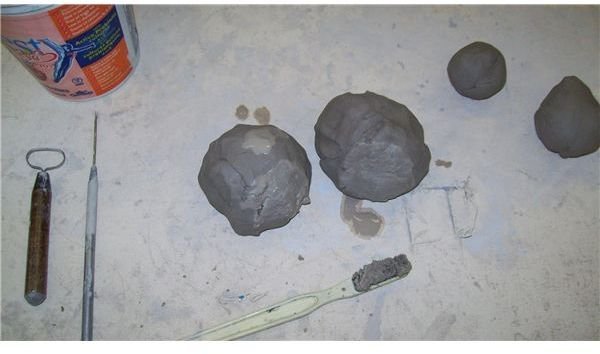
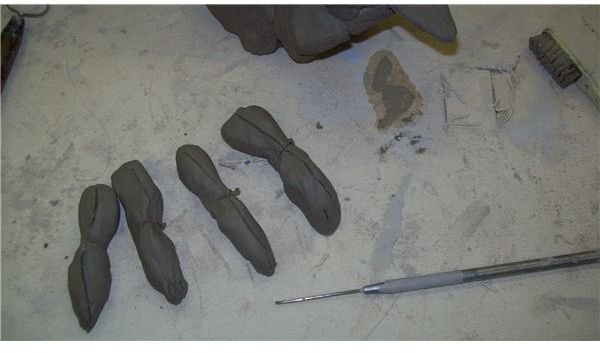
Demonstrate how to make a clay pinch pot. Start with clay called sculpture clay with medium grit texture. The steps to follow are:
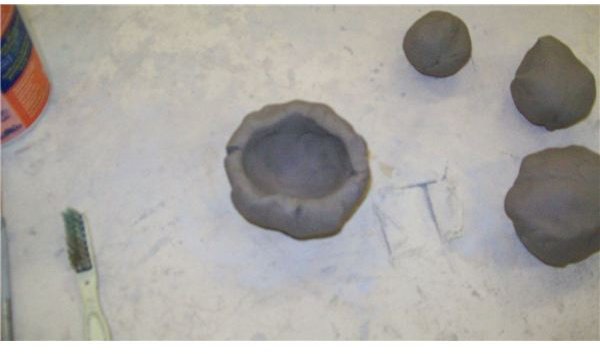
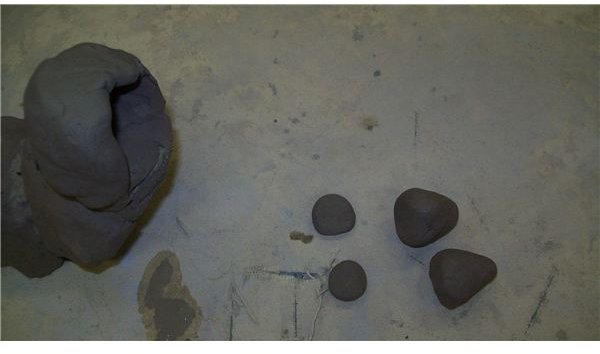
- Form a medium sized ball. With a firm thumb, press a hole into the clay from the bottom and pinch a hole into the inside of the ball. This can be the abdomen. The sides should be fairly thick, about 1/2 inch.
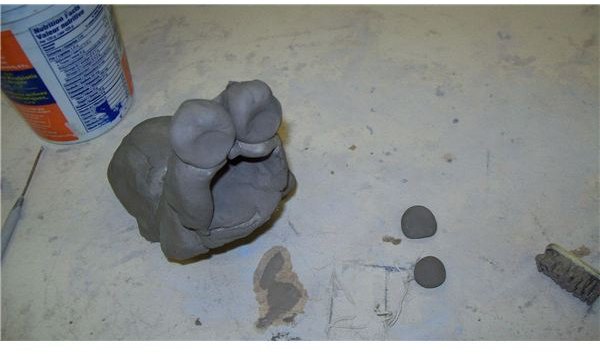
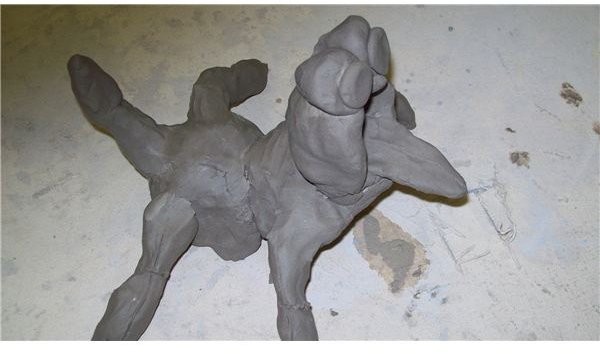
- Form another ball of clay with a hole in it. To attach it to the first ball, use clay slip brushed on with an old toothbrush. Holes can be downward facing, or open to the side.
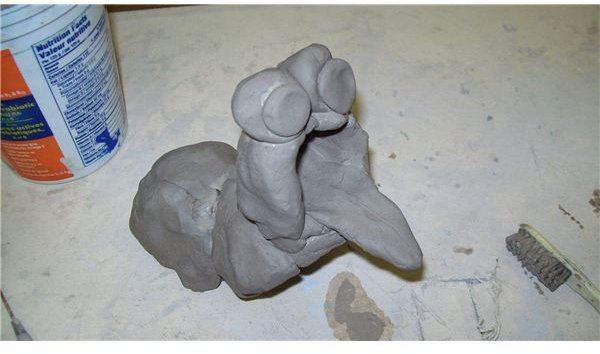
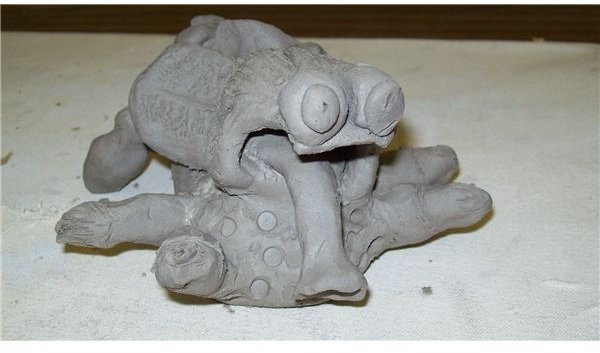
- Finally form a small clay ball for the head. Attach with slip. If you want a hole in this piece, pinch it in the same way as in step 1. This hole will form an open mouth in which to attach lips, tongue, etc.
- To the head piece attach antenna and eyes with pupils, if wanted. Form teardrop-shaped eyes, and flatten them to attach to head. Form little balls; flatten them and using slip press onto center of the eyes. Form each piece of antenna by rolling a finger-shaped piece of clay, attaching with slip and pressing it to the head.
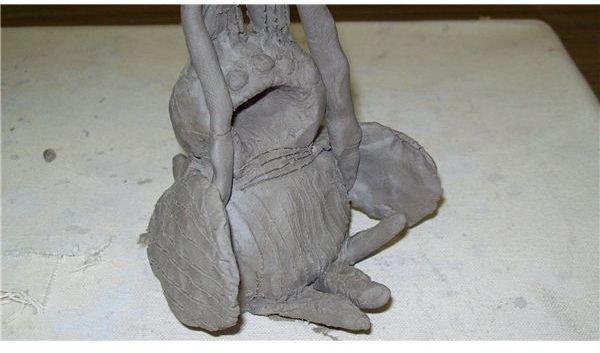
- Attach jointed legs to the abdomen and thorax. Remind students that arthropods can have a joined head and thorax which will appear as 2 body parts. Remind students about spiders with 8 legs, and others with 4 or 6 legs. Centipedes and millipedes have many smaller legs but thin of pieces of clay will not stay attached as easily as thicker legs.
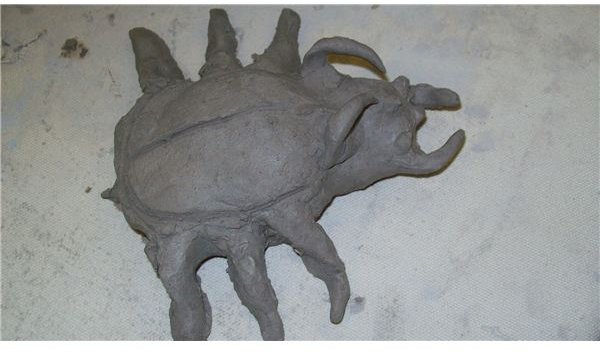
- Show how to add flatter pieces such as wings and eyelids to the arthropod. Flatten in your hand a pancake-shaped piece of clay. Lay over body or eyes, using slip underneath it to attach well. Press on with hands.
Clay Sculpture - Pinch Pot Method
Arthropods Lesson Plan: Hints and Tips on Making Clay Sculptures
Hints and Tips:
- Do a demonstration with the entire clay creation procedure so students watch first, and then try it themselves.
- Allow students to ask questions such as “Do our arthropods have to have legs?” or “Can an arthropod have two heads?”
- Show students photos from books or from the internet of the many varieties of arthropods so they can use the information when creating their own.
- Wrap clay in plastic so they can work on the creation at different times. This way they will learn more about arthropod characteristics each time.
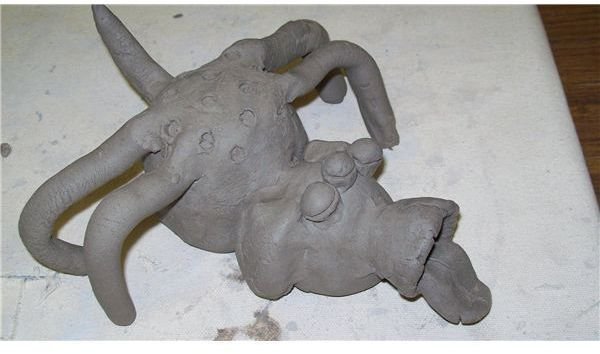
- Use clay tools or plastic utensils to add bumps, textures and spots to the clay surfaces. Use the pointed end of a tool to add the pupil detail to the eye, or the joint in a leg.
- Use one piece of clay for a leg, rather than adding two pieces to make a jointed leg. This will lower the chance that they will be joined incorrectly and therefore fall off when dry.
- Use slip (watery clay or clay dust blended with a blender like mud) when joining body parts. Scrape or brush the body surface, add slip then joint the pieces.
- Let the clay pieces dry gradually over a week by covering in plastic and lifting off more of the plastic covering daily. If firing in a kiln, fire at cone 6 or the recommended cone for the clay used. Then glaze the sculptures allowing students to choose the colors. Use the lesson to teach about insect camouflage.
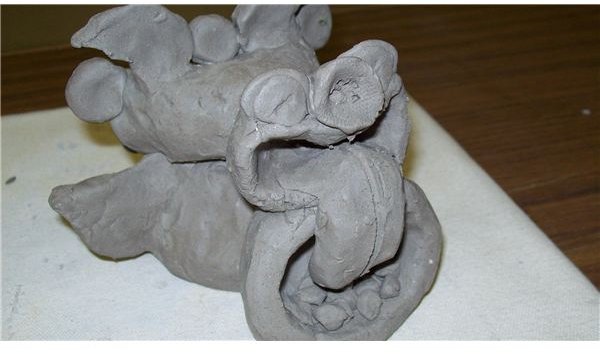
Clay Arthropods

Arthropods Display and More Arthropod Lesson Plans
Arthropod Display
Display the arthropods together in a science or art display case. Take pictures of them and have the students identify their sculpture with a name for their arthropod on an index card.
Post pictures of their creations on a school webpage. Have them label the 3 main body parts: head, thorax and abdomen. Each should explain one adaptation their arthropod has to survive in its environment or ecosystem.
This is one of many fun science lessons involving art and arthropods. Examples of other arthropod sculptures can be researched and incorporated into arthropod lesson plans. You can show beaded creations of bugs from this website:
https://www.beadlebugs.com/ , metal sculptures at: https://www.beware-of-art.com/gallery/insects/default.htm or origami sculptures at:
https://yaggob.deviantart.com/gallery/
Students will enjoy creating their own creature from clay. Using the pinch pot method to create parts, they will be learning what an arthropod is and the basic characteristics shared by all arthropods in this fun science lesson.
Photo credits: Lila Kallstrom