Creating gourd crafts by etching gourds is an alternative to pumpkin carving. Gourds act as a unique canvas to etch a design. Students will enjoy creating a pattern, learning about Native American and African art, and creating sculptures from nature. This is fun lesson to create decorative gourds.
Gourd Crafts and Gourd Art
Introduction
Gourds can be made into all kinds of unique art. Gourd art etching is different from pumpkin carving because you do not have to clean out the gourd. Its surface is smooth, hard and can easily be etched. Students will find it fun to scrape a simple pattern into an already unique natural surface. The colors and interesting shapes of gourds will help determine the pattern.
Preparation
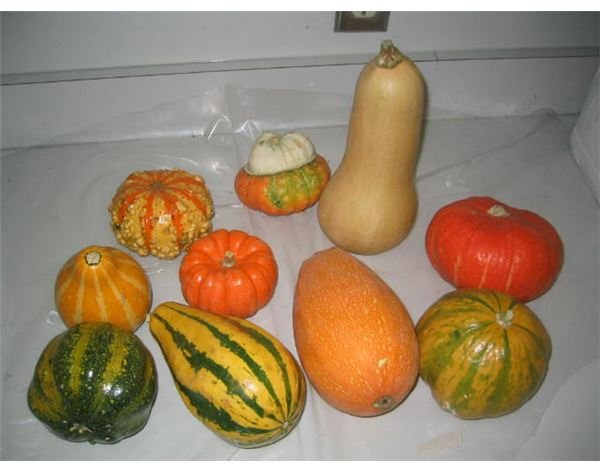
Prepare the students by showing several pictures and examples of gourd crafts and how gourds have been used in art. Have them research exactly what a gourd is. Gourds have been used for purses, birdhouses, bowls, musical instruments and candle holders. Each has been created in different ways. Show students the variety of objects that can be created.
- One website for describing gourd etching for a purse is found at: The Artful Crafter: Scratch Engraved Gourds .
- Explain or have the students research the use of gourds in different cultures such as the spiritual designs in African culture. African food storage gourds can be found at: https://www.maridadiartz.com/crafts/id17.html
- Traditional Hawaiian drums made from gourds can be found at: https://gohawaii.about.com/library/weekly/aa060198.html
- Native American, wildlife and contemporary designs by John Gibson can be found at: https://www.spiritwindsedona.com/Gibson/Gibson.html John’s technique and skills are described at this website. Many examples from shown in art galleries are displayed to give students colorful ideas.
Have the students look up images on the internet of various designs you can carve on or into gourds. Print out samples that they may be able to easily reproduce such as a striped pattern.
Learning about gourds
Gourd Etching
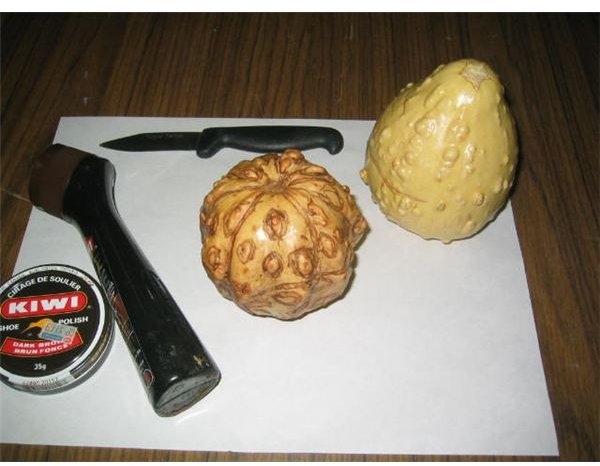
Materials:
- Various gourds in different shapes and colors
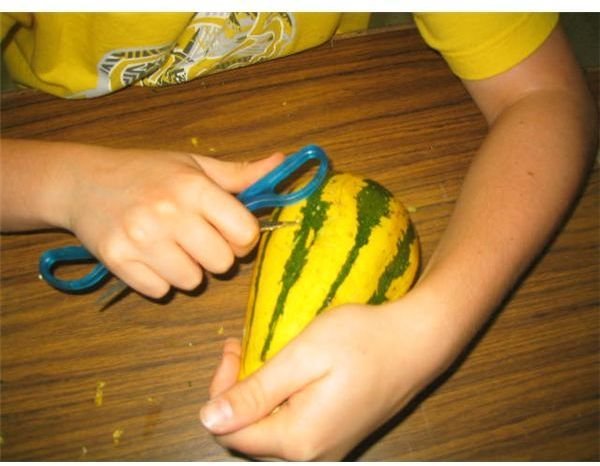
- Scraping tools such as a paring knife, scratch art pen, scissors or pumpkin carving tool
- Sketching materials such as a lamp, cartridge drawing paper, 4B pencils, white cloth
- Brown shoe polish or wood stain and cloth
Procedure:
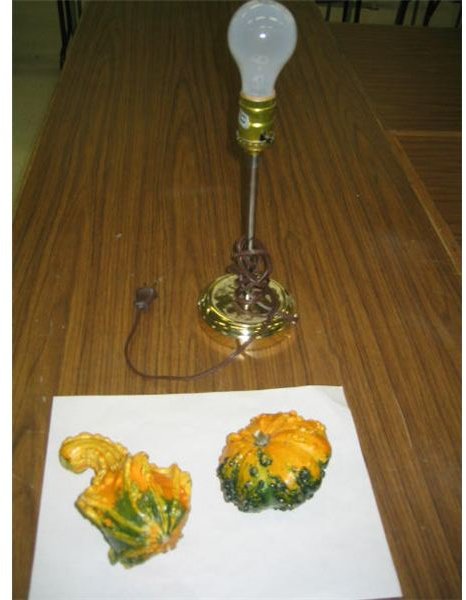
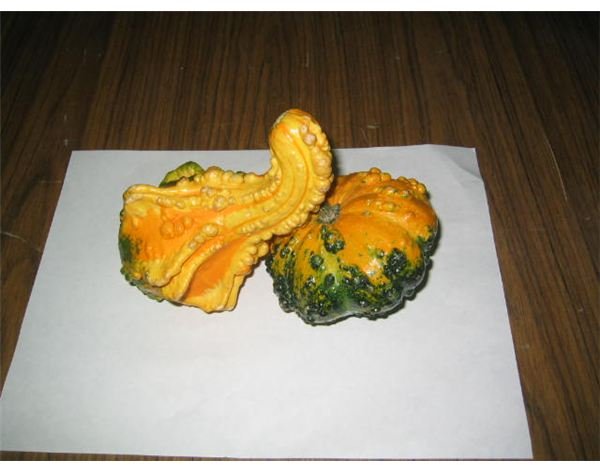
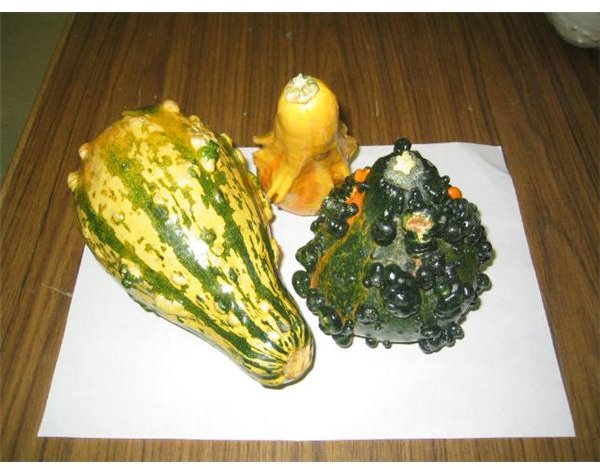
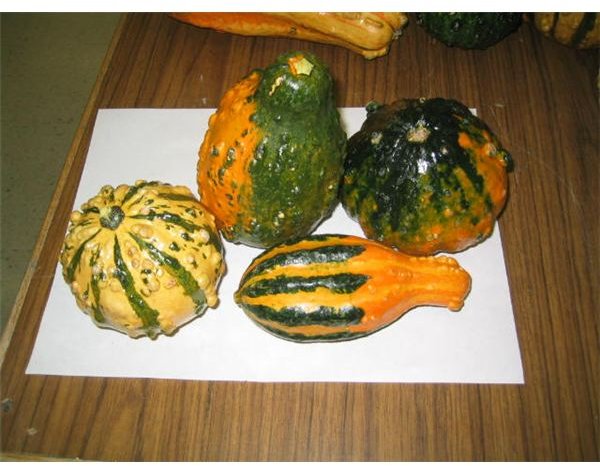
Have student observe various choices of gourds in different colors and shapes.
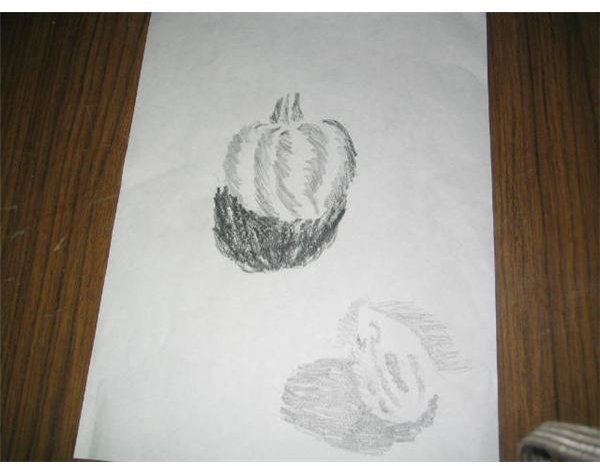
Using a lamp, direct the light source at a white gourd set on a white background or paper. Have the students try to sketch and shade a gourd and its shadow using a 4B pencil.
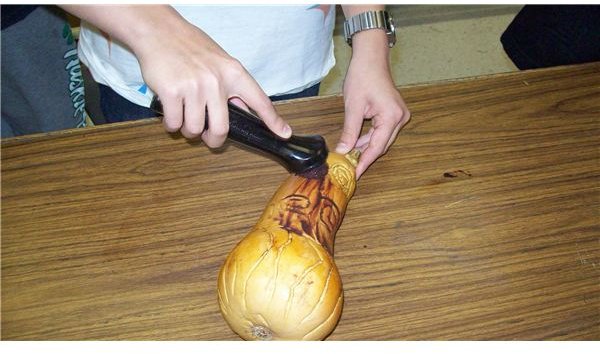
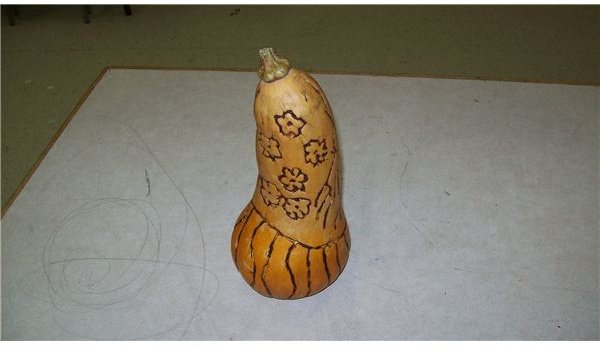
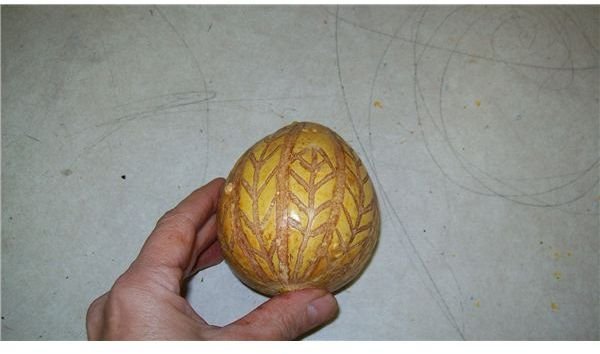
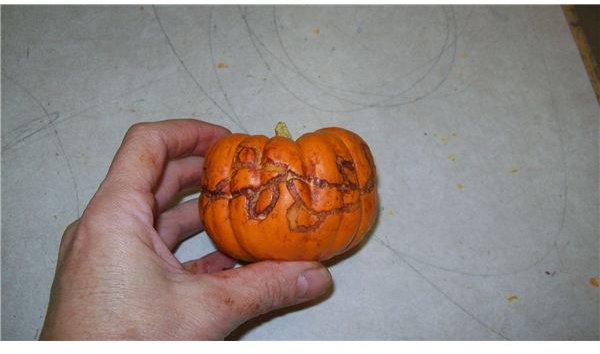
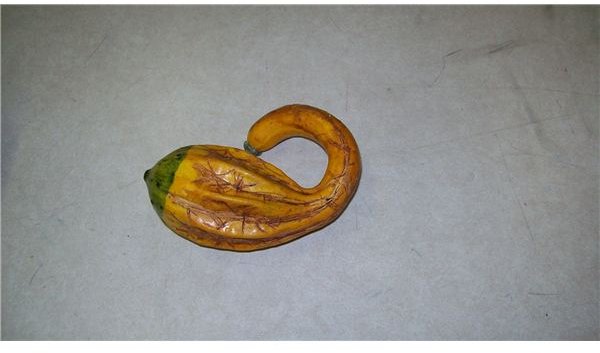
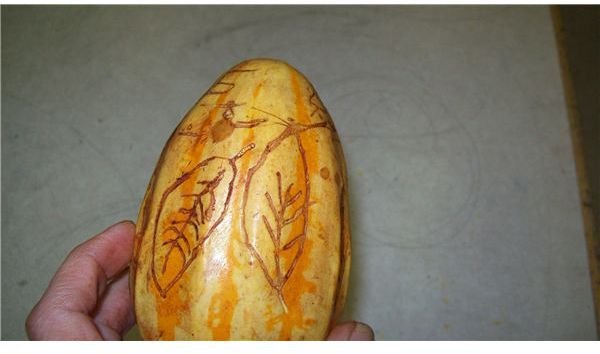
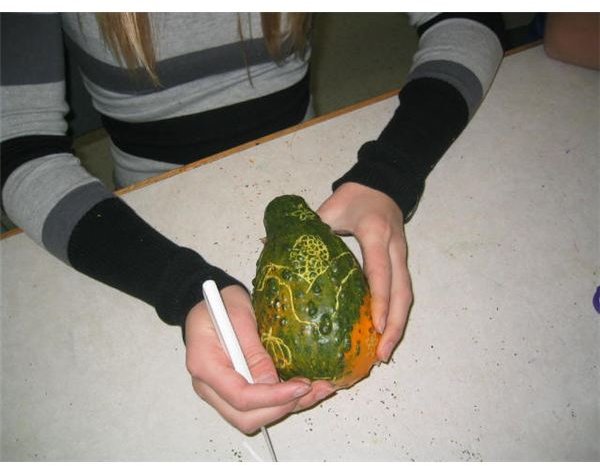
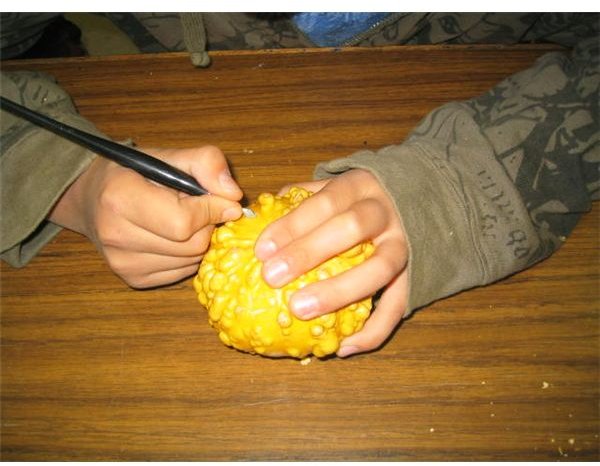
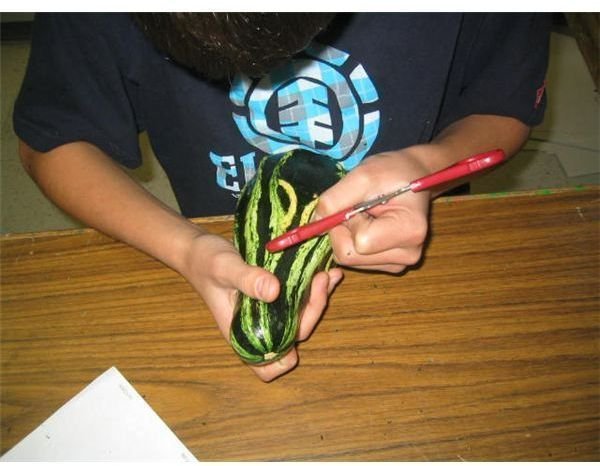
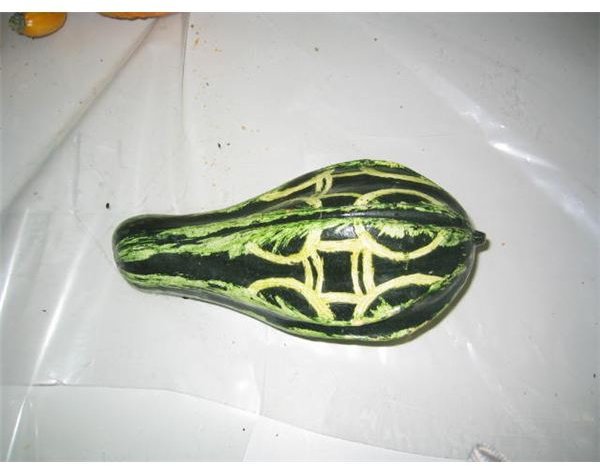
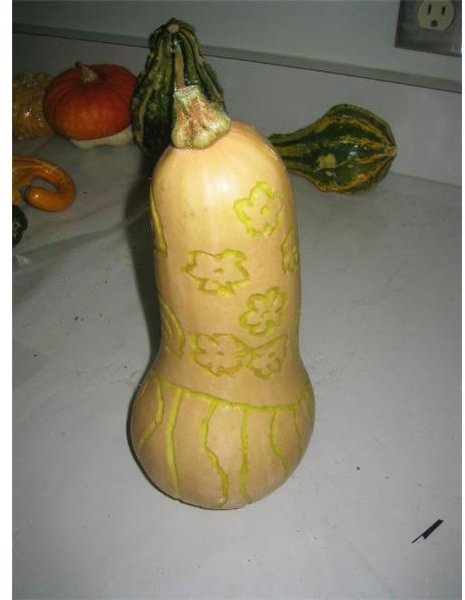
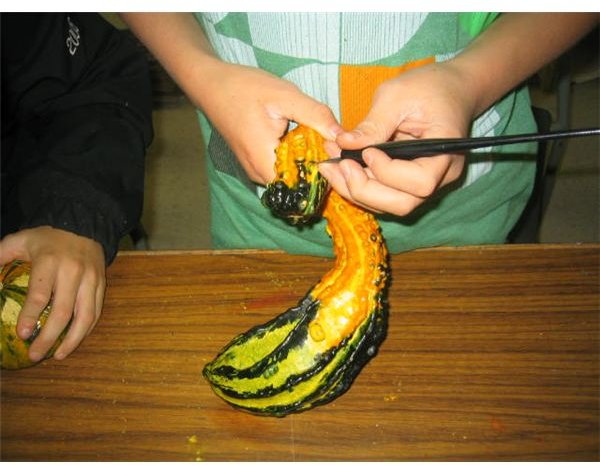
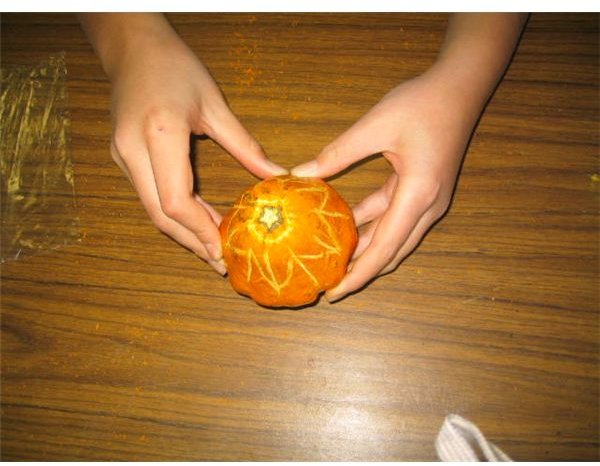
Students choose a gourd and try to etch a design on its outer skin. Emphasize that a design may go with the gourd shape, around the bumps or through them. Simple designs such as stripes are as effective as intricate designs.
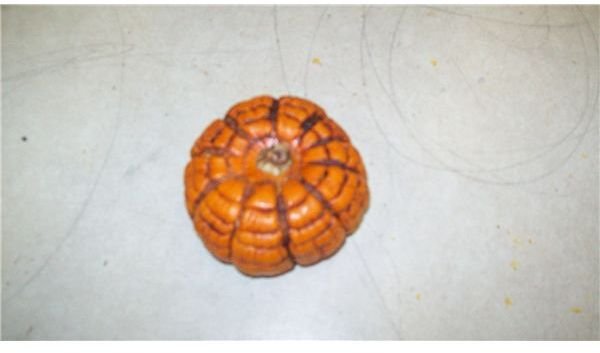
Let the gourds dry for a week. Then rub shoe polish over the entire gourd. Where the gourd has been scraped will leave darker details. Buff the gourd to a nice shine with a cloth. Rub polish into the cracks of the gourd.
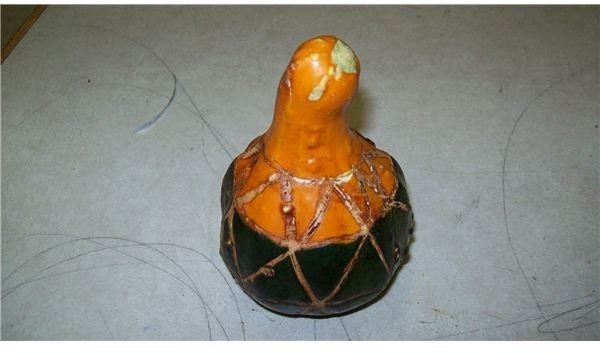
Display the various decorative gourds together for an effective fall display.
Making gourd crafts
Gourd Crafts
Hints and Tips:
-
Students should choose their own gourd. Smooth ones are easier to etch on than bumpy ones. Mini pumpkins are not hard enough to scrape the surface. Students will etch too deep and the gourd will begin to rot after a week.
-
Drawing a design in pencil on the gourd will help students plan their art. Etching a sharp line takes more time than a random line.
-
Showing many odd shaped gourds will help students come up with a unique idea.
-
Remind students that a pattern such as a diamond or stripe is a very effective design. If they try to create an outline of an animal, it may be more difficult. Try not to have them etch words or initials.
-
Use the lesson to teach about the concept of symmetry in nature or the influence of nature in art. Simple rings around a gourd make a symmetrical pattern when viewed from above.
-
To find out more on how to harvest, cure and store gourds read the Guide to Harvesting Pumpkins and Gourds
-
Use the lesson to focus on a particular artist such as John Gibson who feels he has a special connection to the outdoors and landscapes of the West. See more about his style and influence at his website.
Images
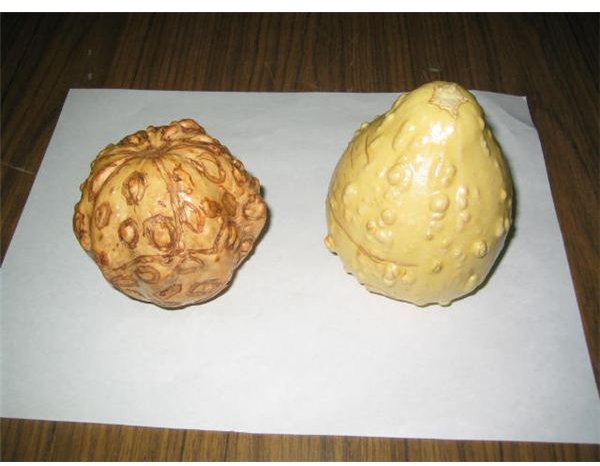
Gourd Art Display
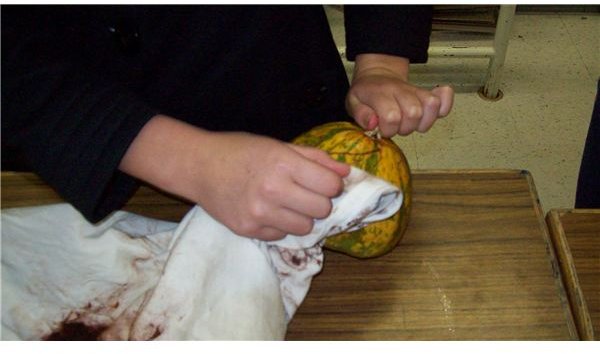
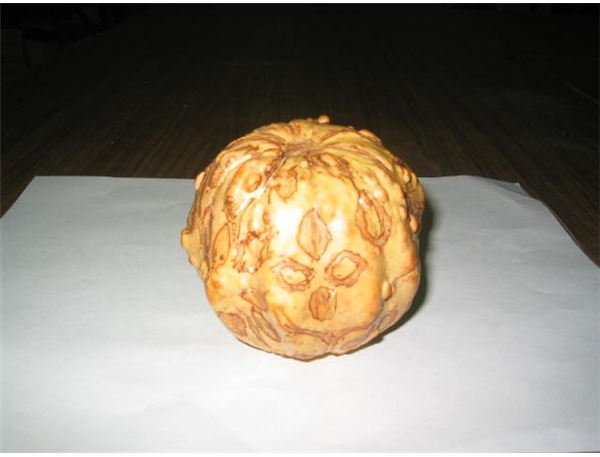
After a week of drying, use the shoe polish or wood stain to turn the gourds a natural brown color. Some of the gourds will have changed their color by then also. Use a cloth to push the stain into the etched areas. Rub off the extra polish and shine the gourd.
Display the decorative gourds in a Thanksgiving art display together. Use tissue paper in fall colors and set the gourds on different levels. The many unique shapes, colors and designs will play off an orange, brown or yellow background. Use a horn of plenty arrangement if one is available.
Students will enjoy seeing and making gourd crafts as an alternative to pumpkin carving. It is a fun way to create a sculpture using the colors and shapes of nature.
Unique Decorative Gourds