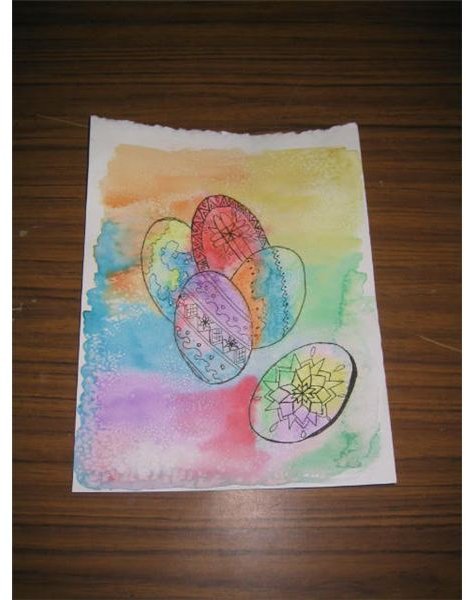
This watercolor tutorial shows you how to make an easy and colorful art project for children in grades 1-8. Students will learn watercolor painting techniques using simple materials. The results are stunning. Try this project at home or at school.
This watercolor art project is an easy art project to do at Easter. Students will find great results combining colors they choose on Easter egg shapes with a special effect from the salt used on the painting. Using these watercolor techniques, they will find that the watercolors will blend nicely yet be contained in an egg shape. The students can create beautiful fine detail on the eggs if they have a higher skill level. This project can be used with children of all ages.
Materials
- watercolor paints
- paintbrushes
- watercolor paper (4 ½ “ x 6 ½ “)
- masking tape
- table salt
- ultra-fine sharpie permanent marker
- pencil
- ruler
- egg shaped stencils
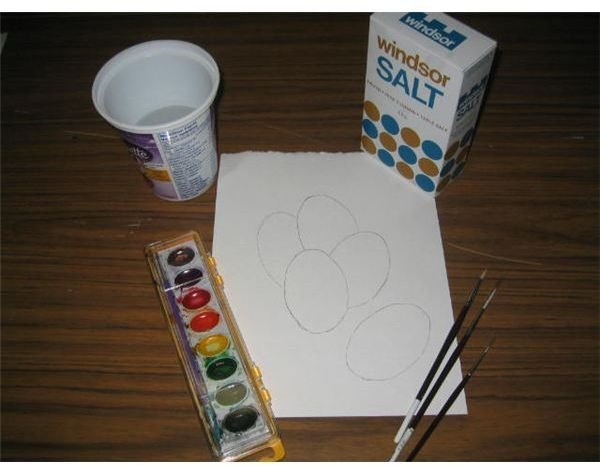
Watercolor Materials
Watercolor Painting Procedure
Step 1: Create a Border
Using watercolor paper cut to 4 ½ x 6 ½ inches, tape the 4 sides of the paper to a work board to paint on. You can measure a ½ inch border around the edge with the ruler. The work boards can be hard board, old tiles, or a table. This technique will help frame the watercolor painting with a nice white border and using a board allows you to lift and tip the painting so the water moves around.
Step 2: Trace Egg Shapes
Using egg shapes of different sizes cut out of manila tag or bristle board, trace egg shapes onto watercolor paper with a light pencil. They can overlap each other or be placed in a pleasing arrangement. Charcoal pencils also work well on the paper so that they can be erased easier or wiped away with a paper towel. Using an egg to trace is also a technique which helps create large enough spaces to paint in.
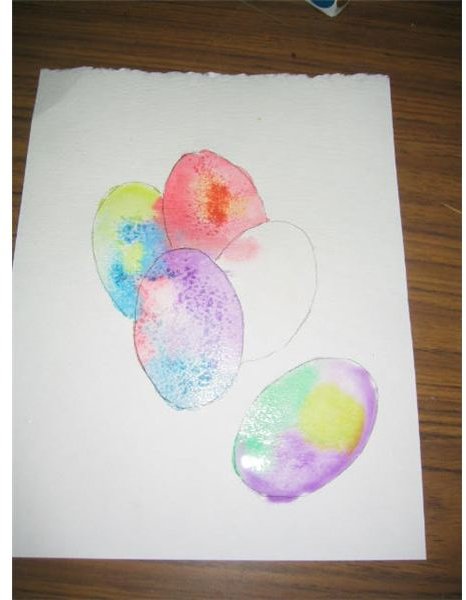
Step 3: Paint in the Eggs
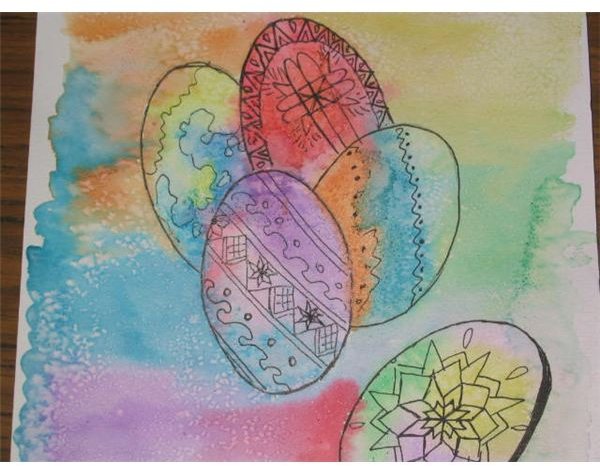
Wet each area inside the egg separately. Remember to dip brush in clean water to get the entire paper wet. Wet it quickly. Add a mixture of 2 to 3 watercolors to an egg. You can apply a light wash of color to the inner edge and a strong layer of color to outside edge of the egg. Colors will blend and bleed on each egg. Immediately apply a sprinkle of table salt after each egg is painted. Follow this procedure with every egg. This watercolor technique creates a unique look as the salt dries. You can use larger salt crystals if you have them.
Step 4: Paint Background
Apply a watercolor wash in the background. Wet the space first, and then apply the watercolor paint. The more watery the paint applied, the lighter the color. The white spaces between the eggs should all be painted. Water can be applied after to blend colors.
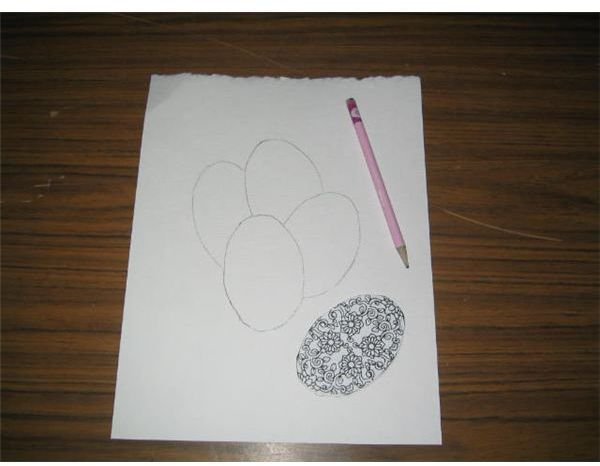
Step 5: Drying and Finishing
After the painting is dry, outline each egg with a fine sharpie marker. Designs on the egg can be applied with marker but should not fill the entire egg. Traditional Easter egg designs and symbols can be applied. Remove the tape border.
The Process

Hints and Tips
Watercolor paper can be Strathmore 300 – 140#. Sheets can be cut into 8 ½ by 11 pieces or 4 ½ by 6 ½ inches to fit into a standard picture frame.
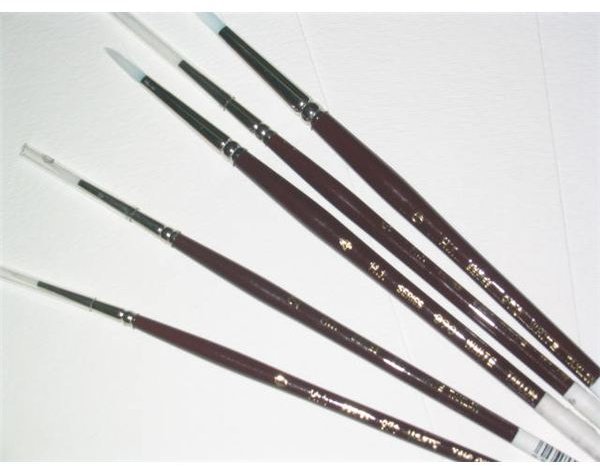
Watercolor brushes can be Demco – White Taklon – Series – 970 in sizes 8, 6, 4, 2. Leave the paint brushes on table when not in use rather than in water. Your brush will last longer if the bristles are kept dry when done.
Watercolor paints can be Yarka brand with a 10 color palette. Paint sets with brush and paints can be purchased from an art store.
Backgrounds and special effects can be achieved with table salt, pickling salt, sea salt, rubbing alcohol, sponges, Saran wrap, marabou feathers, patterns, acrylic paints, sparkle and glitter glue.
Paint 1 to 3 colors inside each egg shape. The larger the egg shape, the more colors can be combined. Do not mix the colors in the paint box. The colors will blend on the paper. Let the water do the work.
Keep a little container of salt on each table or near a group of students, so the paint does not dry out before salt is added.
Change the water often. Remind students not to keep brush in the water. Keep a paper towel near each student to dab the brush if needed. If too much water is on the paper, dip the brush on the paint and it will soak up the extra water. This is called sponging up the water.
Lessons to Teach
Use the lesson to provide the meaning behind traditional Easter colors on traditional Easter eggs (known as Pysanka art). For example, black means death, and resurrection. Green means new life, and growth. Purple means royalty.
Use the lesson to teach about the detail which can be put onto the egg. Traditional Ukrainian Easter symbols, used in Pysanka art, such as a fish or cross represent Christ. A ribbon or net symbolizes eternity. Wheat and grapes symbolize a good harvest. Research the symbols you would like the students to draw.
Use the lesson to discuss warm colors (red, orange) and cool colors (blue, violet). You can teach about contrasting colors (red and green, blue and orange, yellow and blue) or about complementary colors on the color wheel.
Watercolor Finishing Techniques
Sparkle or glitter glue can be added to the finished watercolor painting to add special effects. The finished watercolor paper can be framed in a picture frame. The eggs can be cut out from one watercolor painting and glued onto another watercolor background. Darker watercolor paints can be used on the eggs and lighter watercolor paints can be used on the background. The background could be painted to look like a field or garden and the teacher can hide the eggs in a large painted scene.
Children love to decorate eggs at Easter so will find this a fun, enjoyable and easy watercolor project. Using the watercolor painting techniques provided, this Easter watercolor art produces excellent results from blending the colors.
Photo credits: Lila Kallstrom
This post is part of the series: Watercolor Art Projects For All Seasons
Watercolor Art Projects with seasonal special effects for fall, Remembrance Day, Halloween, Christmas, winter, Valentines, Easter, spring and summer. Painting projects using different techniques and skill levels will be provided with spectacular results for all ages. Fun and easy projects to use.


