Digital Art High School Lesson: Recycling Prior Projects Using Photoshop
Objective
Students will scan or photograph their old artwork and use basic Photoshop elements to create new digital works of art with their scanned pieces.
Materials
- Discarded artwork
- Scanner (or digital camera if scanner is unavailable)
- Flash disks or connection cables (to connect cameras or phones to computer)
- Desktop computers or laptops
- Photoshop or similar photo editing program
- Access to printer if desired
Preparation note: Prior to this lesson, students should have samples of old artwork they would like to use for this activity.
Images


Lesson Procedure
Step One: Introduction to Activity
Introduce students to examples of digital art in which the artist has incorporated original paintings (a quick online search of these terms will give you many examples from which to choose, or you may choose to provide self-created samples).
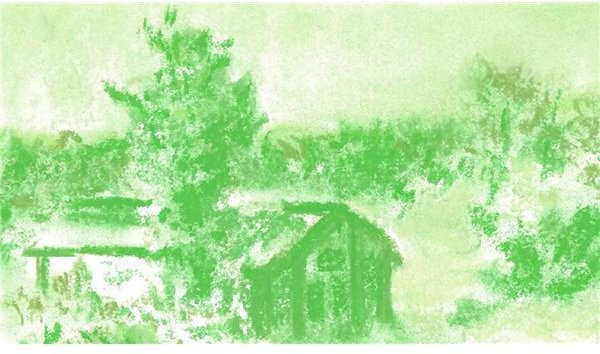
Lead a discussion with students as to how the incorporated elements add to the overall effect of the digital work, and discuss different possibilities for modifying their works digitally. Ideas might include altering colors, contrast, textures, cropping, layering, adding multiple elements from different paintings, adding text or distorting or filtering objects for effect.
Step Two: Scanning/ Photographing work
Using scanners or digital cameras (most smartphone cameras will work as well on high-resolution settings), students will scan or photograph and save their original artworks as digital files. If possible, scanners should be set on high resolution (300 dpi minimum) for best results (resolution can also be adjusted in Photoshop if needed). If there is time, encourage students to crop their artwork so it is ready to copy and paste into a new piece before beginning the next phase of the lesson.
Step Three: Creating Digital Piece of Art
Note: Because this is a basic lesson using Photoshop, adjust for student skill and comfort level. Students who are comfortable using Photoshop should be given the option of moving ahead on their own as needed or assisting other students who are not familiar with the program. You can also use Adobe Image Ready if students will not be printing their work, as it contains fewer options than Photoshop and may therefore be less confusing.
To keep the lesson basic, students should begin by opening a larger, cropped piece to use as the basis for their artwork. This can be a complete scene or a background texture, but should give students a basic “canvas” with which to begin their works.
Depending on skill levels of students, you may wish to walk students through the basic functions of Photoshop on a demo piece or walk students through adjusting their works to see the different effects. The following is a good order for guiding students as they create their works:
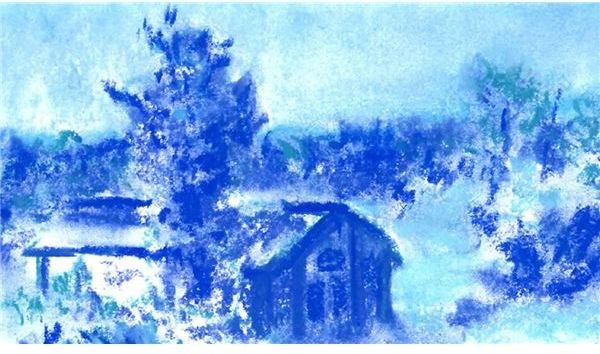
1) Image Menu: Start by duplicating the image (always a good idea, so you can keep original for future use if you want to delete your work). From there, students can use the Image menu to and select “adjust” to work with brightness, contrast, size and resolution, and hue saturation. For beginners, teacher should encourage students to stick to basic adjustments, rather than getting into advanced details.
(Students should be reminded to save their work as they go!)
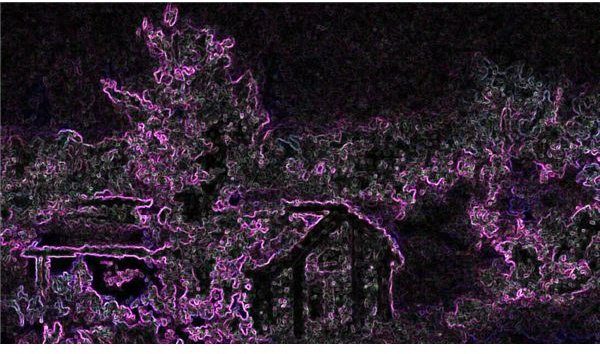
2) Filter Menu: Students can play with different filters to add artistic touches to their images. Remind students to proceed carefully and undo a change they dislike by going to the “Edit” menu and clicking “Undo.” Failure to undo changes before making additional changes will make it difficult to remove them later. Students should also be encouraged to use “Save a copy” under the “File” menu to keep multiple copies of their work as they go, so they can go back to earlier versions if needed.
3) Tools: Students can use tools such as the eraser, text boxes and paintbrushes to add finishing touches to their work.
Assessment
Students submit digital copies of their pieces to the teacher for assessment.
Extension
You may want to provide a method for students to view each other’s creations, such as a slideshow, class blog or on the school’s social networking pages.
