Using Your Smartphone to Take Reference Photos for Art: Smart Tips for a High School Art Project
Objective: Students will learn to use their phones’ camera features to take, crop, and sketch from photos that can be used in future creations.
Materials: Phone that takes and crops pictures, pencils, sketch paper
NOTE: It is VITAL that teachers review all policies and procedures for their schools when using photography with students so that confidentiality is maintained and school policies are respected.
Lesson Procedure:
Step One: Teacher will introduce students to examples of photography created with smartphones, including examples from popular internet sources.
Step Two: For a quick warm-up, teacher will ask students to either take a new photo of themselves or use a previously taken photo of themselves on their phones to do a quick self-portrait sketch (allow 10 minutes for sketching). After 10 minutes, ask students what issues they had with working from a reference photo on the phone. Issues might include screen timing out, bad photo quality, trouble seeing reference, or trouble translating photo into drawing.
Step Three: Teacher will ask students to identify some photo subjects they might like to turn into artwork. Examples might include people, places they visit, animals, flowers, sunsets, cloudscapes, or other visually interesting subjects. Teacher will post examples of phone photography with strong compositional elements and point out how students can achieve such compositions. Examples of compositional types may include directional photos (vertical or horizontal objects), macro (close-up) photography, portrait photography, and landscape photos.
Tips for taking each type of photo:
Directional or Pattern Photos
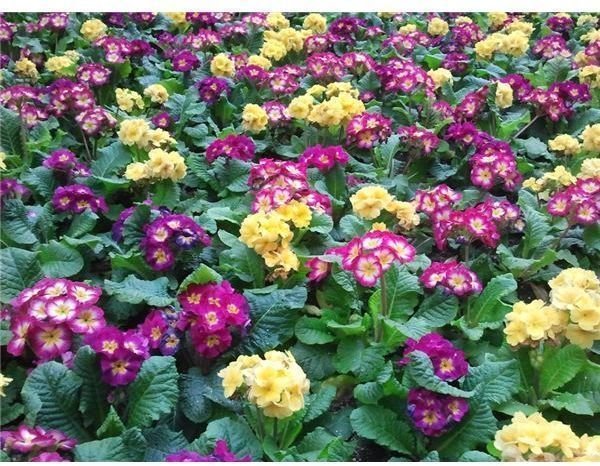
Fill the screen with either a lot of vertical, horizontal, or diagonal objects, making sure the focus is on the overall pattern of the objects (bunches of flowers, plants, trees, power poles, rocks, and walls make good subjects for this category)
Macro

If phone camera has a menu for focus settings, adjust it to zoom or macro setting. Hold the camera 6-12 inches from object, making it the focus of the photo (flowers are great for this setting)
Portrait
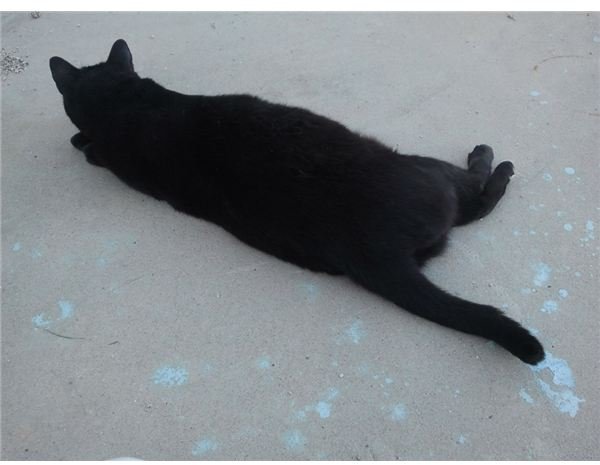
For a whole figure, orient the screen vertically or horizontally to match the figure. For headshots, take up the whole screen with head and shoulders, fitting the figure into at least three corners of the screen.


Landscape
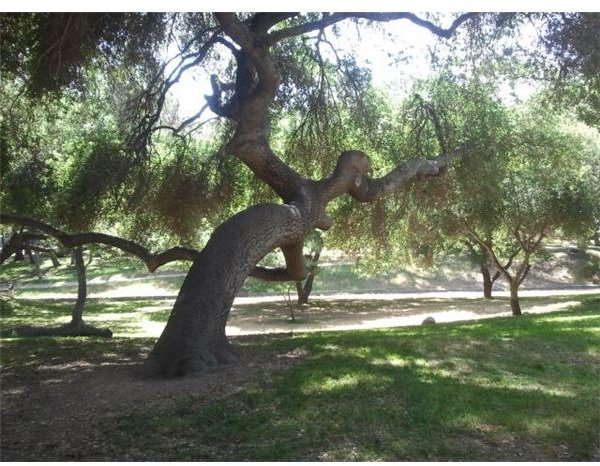
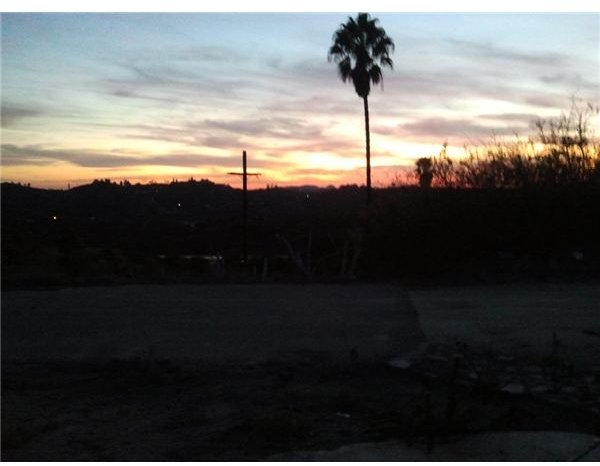
Focus on a large object in the foreground to “anchor” your composition (such as a tree or building), or hold the screen horizontally and divide your photo into thirds, making two-thirds consist either of sky or land.
Step Four: Teacher will take students on a “photo walk” outside. Students will choose four different subjects and take 3-5 photos of each subject. Encourage students to experiment with their phone’s settings, including macro focus for close-up items, facial recognition for photos of people, and higher resolution for larger scenes with distant items that can be cropped. Once students have taken their photos, they can select “crop” from the menu on any photos that they would like to crop, focusing the composition on an important object from a particular photo.
Cropping tips:
Students should be able to crop directly from photos by selecting from a picture’s menu. Following the composition tips above, students should crop photos in order to strengthen a composition for a sketch. For example, students can crop photos with multiple objects down to focus on a single object to sketch, or to remove elements of the photo that might distract the student while sketching.
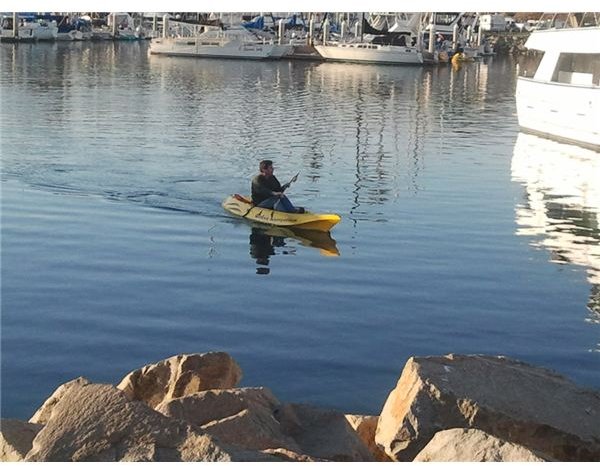
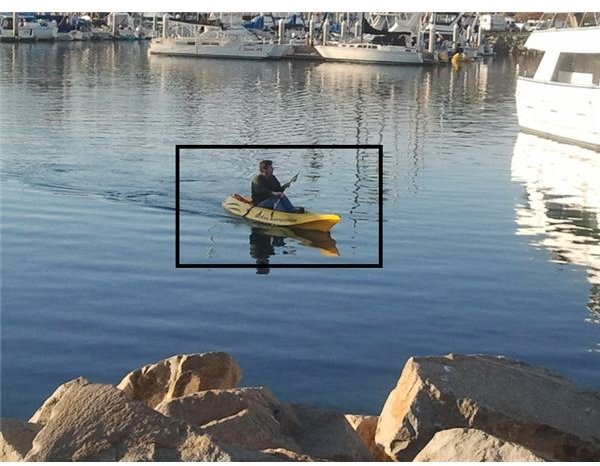
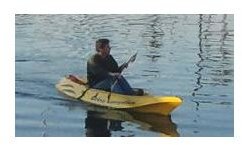
Step Five: Teacher will ask students to prepare for a sketch session by folding a piece of paper into four sections. Teacher will guide students in a sketch session, asking them to select the best photo from each subject’s set (for a total of four sketches). Teacher will explain to students how to find the screen timeout settings on their phones (under the display section of the settings menu) and, if applicable, set their screen timeouts to the maximum time. This will keep the pictures on students’ screens while they sketch.
Assessment: Teacher will compare students’ sketches with photo references and discuss strengths of composition in student photos.
Extension: Students can use their own phone reference photos for warm-up sketches in future classes or may create a finished painting from a phone reference photo.
