Having trouble teaching texture drawing? This easy art lesson will help students to create realistic spider drawings that have a hairy texture. The method is a way for students to practice textures that they have previously learned. Students will enjoy drawing a spider in a new way.
This lesson describes how to draw a hairy textured spider. Students learning about texture drawings in grades 4 and 5 will enjoy learning how to draw a hairy texture on a realistic spider. This will help build their confidence in using texture in their sketches. They will be amazed at how well they can draw.
Materials:
- 9 x 12 cartridge drawing paper
- 4B pencil
- spider picture samples
Method:
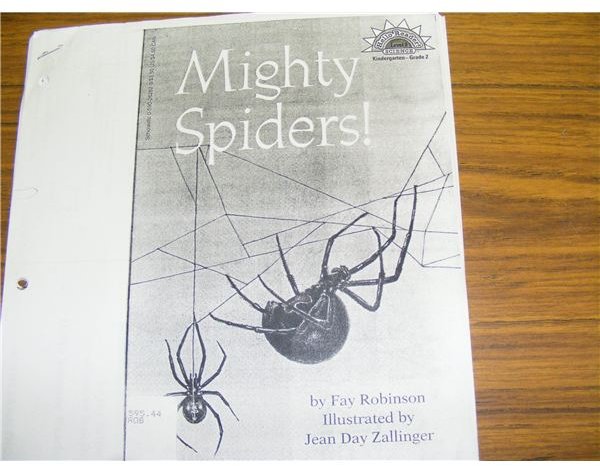
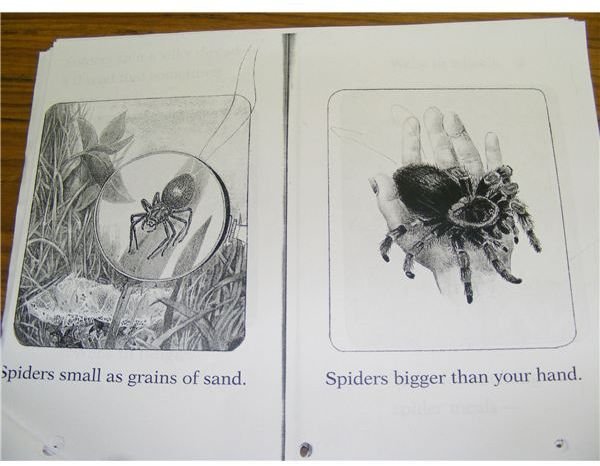
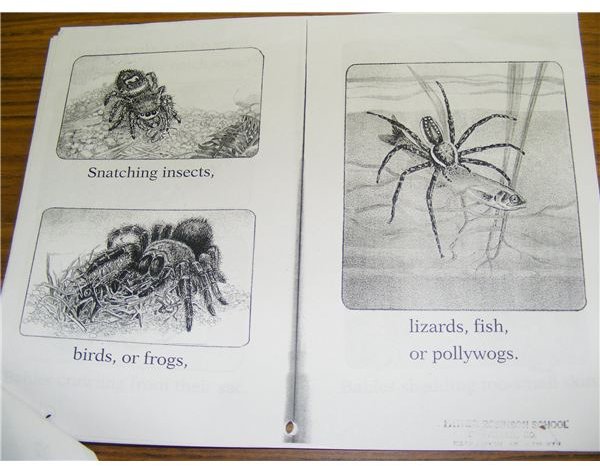
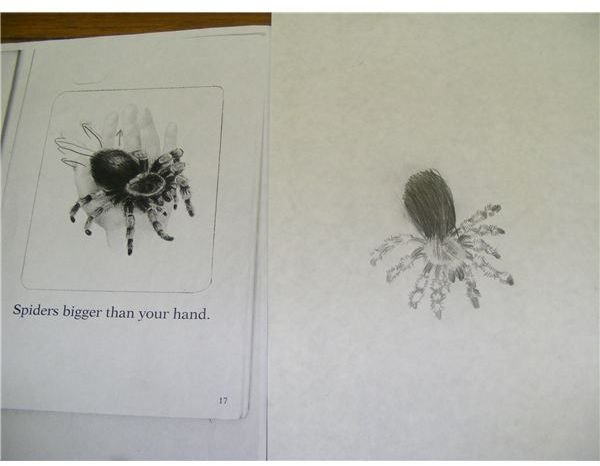
1. Have students choose from a variety of different sketches of spiders. Use illustrations from the book, Mighty Spiders by Fay Robinson, which was illustrated by Jean Zallinger.
2. Review how to observe the hairy texture as drawn on animals. Look for the length of hairs, the direction they are drawn in, and the number of hairs they notice on the illustration.
3. Demonstrate on the board or large paper how to draw parts of the picture at one time. With their picture beside them, have the students put their finger on one side of the picture and try to count and then draw the hairs. Be sure not to draw a rounded body of the spider and then add the hairs. Try to draw only the hairs which may form the rounded shape of the body of the spider.
Hairy Textured Spiders and Illustrations
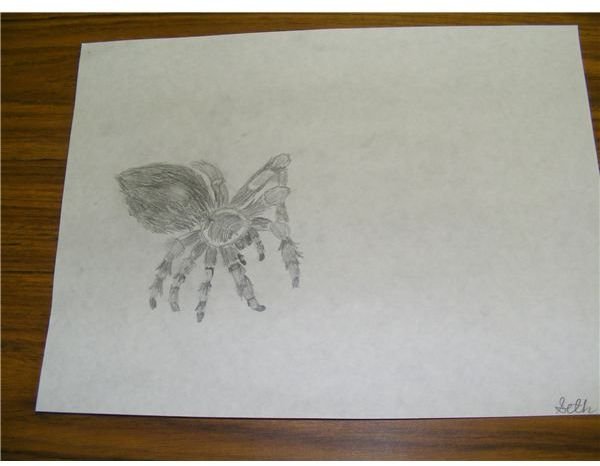
4. Continue to draw the legs and other parts of the spider by looking at the lines forming the hairs.
5. To challenge the students, have them place the illustration upside down and draw their spider upside down also. Students can also use a square cut out of another piece of paper so that students are only looking at a window view of their spider. This will help them to look at small parts of the drawing at a time.
7. Complete the spider and draw in any eyes or lines needed. Backgrounds and spider web drawings can be added if they want.
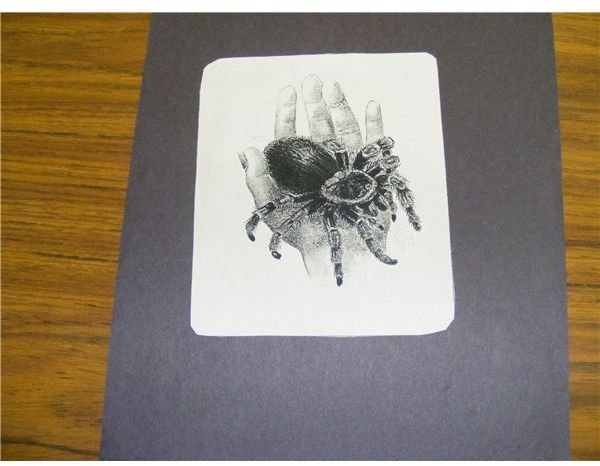
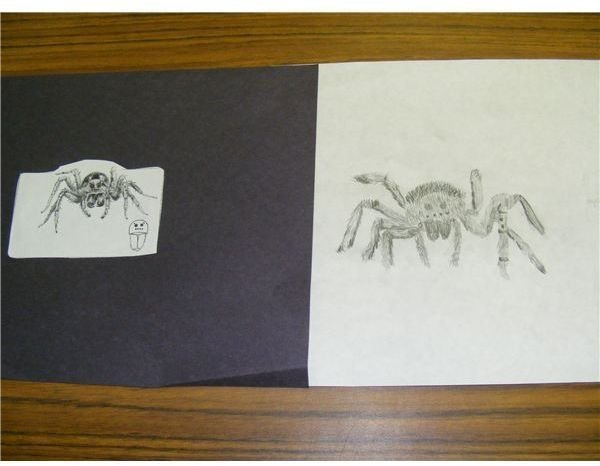
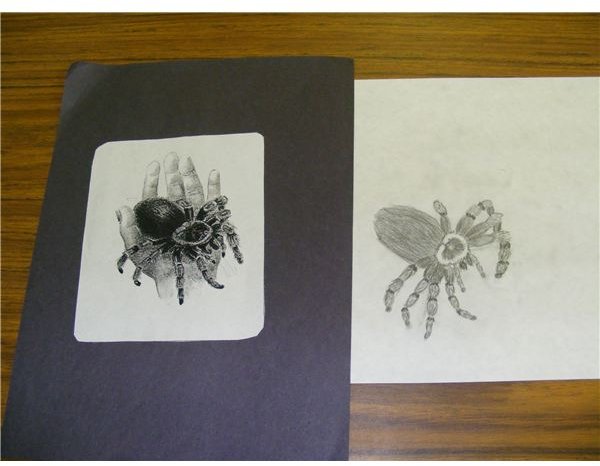
8. Display their hairy textured spider drawings with the original illustration of the spider. Use a black background so students can see the darkened pencil drawn hairs of their drawings.
Displaying the Hairy Textured Spider Drawings
Spider Drawing Lesson Hints and Tips
Show close-up photos of spiders and webs to show the hairy textures on them. Try not to have students draw from photos since the lighting and other factors are difficult to portray.
Demonstrate how to draw hairs to create a shape rather than draw a shape and fill it in with hairs. Ask the students if they have seen you draw any lines. Then ask them if they have seen you draw many hairs. Students will then try this technique themselves.
Using arrows, draw and point out the directions that the hairs are drawn in, on the illustration. Help the students to practice their observation skills. Point out the direction they have drawn their hairs in to see if it is the same.
Give the students 2 work periods to complete their drawings. If they take a fresh look at their drawing they may see the hair shapes and directions easier the next time.
Display the spider drawings even if they are not complete so that the efforts and time taken to complete the drawings are appreciated. Students will likely find this a slow and hard skill to try the first time. Students will also be pleased with a drawing that is realistic.


