Students will create striking scratch art pictures from simple flower drawings in this art project for spring. Using pens and silver backed paper, students will enjoy creating beautiful art that can become a lovely Mother’s Day gift.
Students can let their scratch art ideas come to life in this lesson.
Preparation
Students will need a simple drawing of a flower or object that they can find on the Internet. They will trace the drawing onto the special paper and create a nice etching. You can create your own scratch art paper using wax crayons and black paint or markers and black wax crayons. However, it can be difficult to find silver markers or crayons, so you may prefer to purchase scratchboard paper.
Materials Required
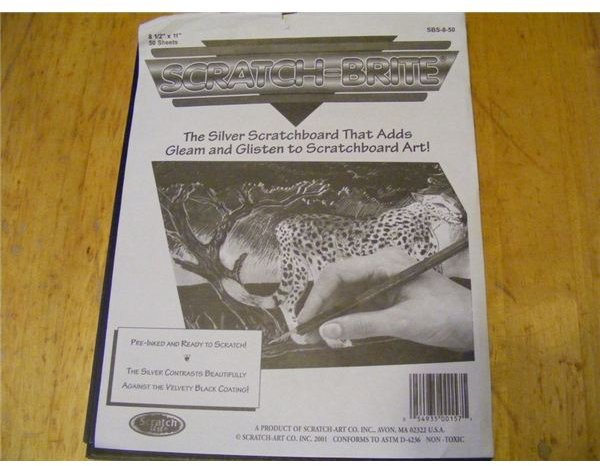
- Scratch art paper (silver) – Silver Scratchboard paper (e.g. Scratch-Brite brand) from art supply stores
- Scratch art pen
- Carbon paper
- Line drawing
- Pencil
Procedure
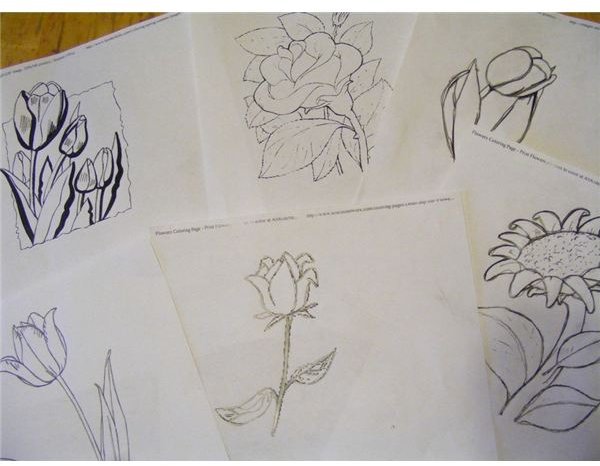
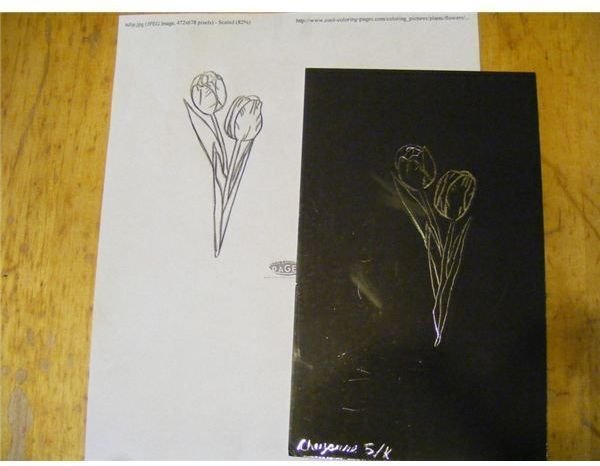
Print out several line drawings or coloring pictures for students to trace depending upon grade level. Use a simple flower such as a tulip or a single rose for an elegant effect.
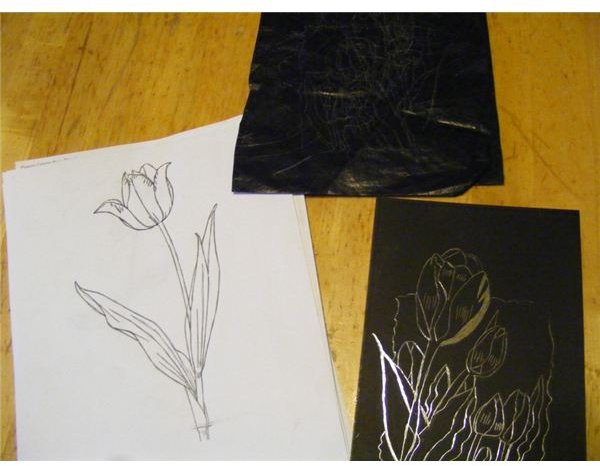
Place the carbon paper between the drawing and the scratch art paper (carbon side down). Using a pencil, trace the outlines of the drawing onto the scratch art paper. Black will show up on the paper.
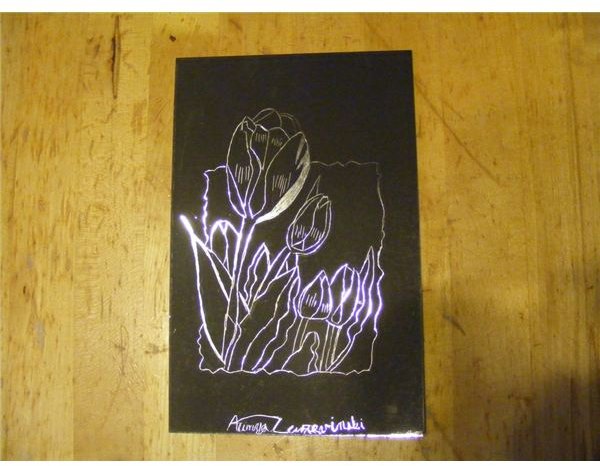
Using small, light strokes, scratch the paper where the outlines of the drawing are. Complete the entire outline before making thicker lines or shadows. Go over lines two or three times to create a thicker line or shadow where you want emphasis on the drawing.
Do not add a background. Keep the drawing simple. If students want to add lines and features not in the original drawing this is okay, but backgrounds may take away from the effect they want. Simpler is better.
Images
Finishing
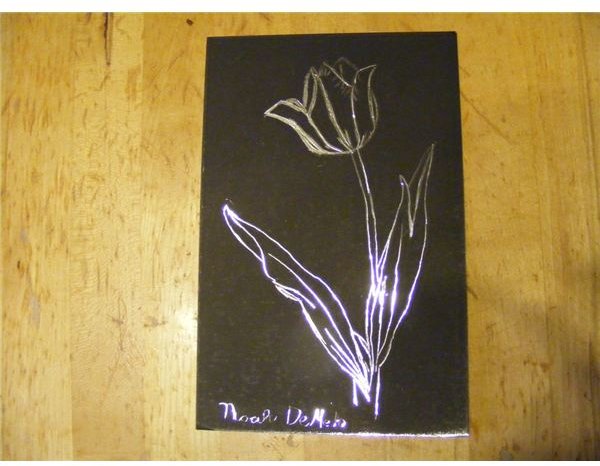
Using the scratch art pen, have students write their names on the front of their pictures. Students in younger grades should practice handwriting in pencil on the back of the paper first before using the pens to scratch their first and last names on the front.
Frame this spring art project or mount on a coordinating background such as red for roses, yellow for tulips and sunflowers and purple for crocuses. Frames can be made in a separate project out of tinfoil or shiny glitter glue on mat board.
Hints and Tips for Success
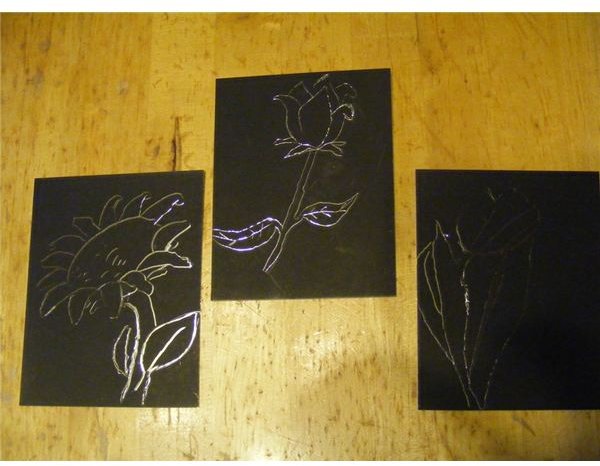
You can incorporate different seasons or other themes into this art lesson, as well. In spring, pick out simple drawings of tulips, daffodils, crosses, roses or sunflowers. These make stunning Mother’s Day gifts. Students will have time to create a frame for their art.
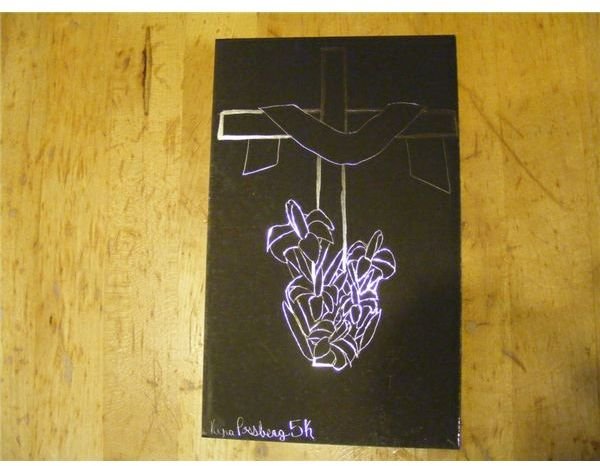
During fall, use drawings of different leaf shapes, acorns or scarecrows. In November, you can create realistic poppies or crosses for Remembrance Day. During winter, choose stars, or glittery objects such as snowflakes, decorations or bows for Christmas. At Easter, choose lilies, crosses or Easter eggs.
In summer, choose beach objects such as starfish, silvery fish, hooks or seashells. Alternatively, you can use sports themes (baseball gloves, golf clubs, running shoes) or animal themes (leopards, cheetahs, giraffes). Metal objects, pop cans or utensils also make great scratch art ideas when done in silver.
Demonstrate how to make light strokes with the scratch art pen first. Remind students that while you can always make lines thicker, you cannot make them thinner once you have scratched. Go back and forth over a line to thicken it.
Lines do not have to be continuous. Remind students that in nature, lines and edges of flower petals, for example, will not be straight. Nature is not perfect so jagged lines are not considered mistakes.
Show how to change the angle of the pen to get different effects. Once students are familiar with an effective etching technique, encourage them try their own freehand drawings instead of tracing designs.
Use basic shapes for younger grades such as triangles, circles and squares. Students can make the objects look three-dimensional by adding thicker lines on one side of the shapes or drawing them so the sides merge at a vanishing point. Older students can choose designs with more details, using them as guidelines for more intricate pictures. See the article on combining art and geometry using scratch art and other art ideas.
Images
Displaying the Finished Scratch Art
Frame and display the finished pieces together on a contrasting background such as white, red, bright pink or yellow. If possible, shine a light onto the art so the silver reflects the light. You can create frames from foil covered cardboard, white mat board or wire art.
Students will enjoy the results of using scratch art ideas and techniques to create this project for spring or Mother’s Day. It is an easy scratch art lesson and yet the results are stunning!


