Step pyramids were ancient stone structures built in Egypt as well as in several other places around the world. You can create your a model-size pyramid at home in several different ways.
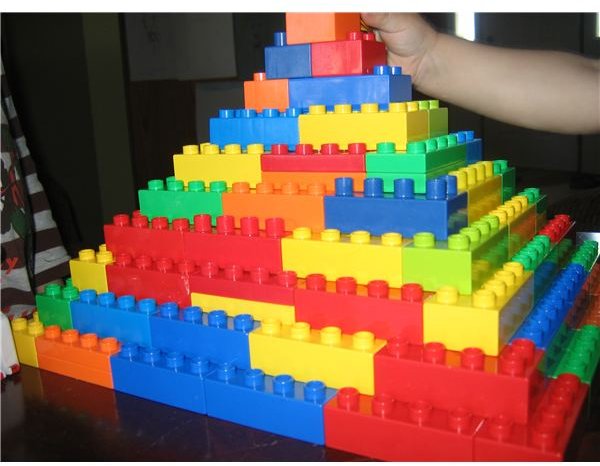
Lego Pyramid
Making a step pyramid for a school project can be done with everyday toys most families with kids have around the house, such as Legos.
First gather up the legos! Using the DUPLO-sized Legos you will need approximately 71 2x4 blocks and 2 2x2 blocks. You will also need a hard flat surface to build on and subsequently transport your creation to school. Try a piece of thick cardboard, project board or even a large plastic lid or tray. If you will be creating this project with no intention of using the DUPLOS again, you may also want to consider using glue to help bond the levels together. If you want to reuse the Legos at the end of the projects, do not use glue, but take extra caution as your structure will be more prone to collapse without the extra fortification.
Begin by building a base for your pyramid. We used a 4 x 4 x 4 x 4 ratio on our base level, which equals 16 of the 2x4 blocks. The second layer will be indented one row in, leaving a “step” around the rim of the base. This layer will use 14 blocks in the 2x4 size. Use a small layer of glue to adhere the levels together to add extra strength to your model and if you don’t plan to use the Legos after the project is over. Each layer you add up will get exponentially smaller until you reach the top.
It’s up to you how you want the tip of your step pyramid to look. This pyramid uses 1 2x4 block and 1 2x2 block for the second to last layer and 1 small block for the final layer. You may wish to make alterations based on what you find looks best. To learn more about the origination timeline of the step pyramid take a look at this article titled, Ancient Egypt Timeline: The Old, Middle, and New Kingdoms.
Once your pyramid is finished you might wish to consider painting it if you aren’t reusing your Legos.
Sugar Cube Pyramid
Making a step pyramid out of sugar can be fun and tasty! Pick up a generous stock of sugar cubes (about 400) as well as glue and sandy brown colored paint to begin this project. On a hard surface, preferably movable for transportation purposes, create a 10x10 square base out of sugar cubes. Be sure to secure each cube together with a small dab of glue for structural integrity.
Your next layer will be 9x9 and secured to the base layer with glue. Also, be sure to center the cube on the base level to create the authentic look of the “step” pyramid. Each subsequent layer will be 1 cube shorter than the previous layer (For example, 8x8, 7x7, and so on), using glue to adhere them together until you get to the top.
Once the sugar pyramid is completely dry, paint it so it resembles those of ancient Egypt. Take caution not to overdo it with the paint, as excessive paint could result in some of the cubes melting.
Clay Pyramid
A clay step pyramid will require a generous amount of clay, a ruler, some tools to cut your clay with as well as paint supplies, texturizer or glue and some sand for finishing touches.
Begin by determining the size you would like your finished step pyramid model to be when it’s completed. Measure the clay and cut the base to the appropriate size. For example, a 36 square inch base should be 6x6 square and about an inch thick. Each additional layer should be smaller and smaller measurements (for example 5x5, then 4x4 and so on), remembering to leave the “step” rim around the edge of each layer.
Once you have your pyramid model, you can leave it as is and let it dry or carve your clay to make it look like the individual blocks that make up the pyramid’s structure. Allow this model to dry on a hard surface completely before painting, texturizing, or painting with glue and sifting sand over to replicate the sandy look of the pyramids.
Styrofoam Pyramid
Start by purchasing several large blocks of Styrofoam. You will also want to pick up some paint, a ruler, glue, and/or sand to decorate your Styrofoam model with once it has dried. You will also need a small saw or serrated knife to cut the foam with.
Cut a square block of foam in a 10x10’’ square approximately 1 inch thick. This will be your base. Make sure to build your model on a hard flat surface that is easily movable. Cut your next level to be 9x9 square. Each successive level should get exponentially smaller until you reach the top. Each layer should be secured to the one before it with some glue for stability.
Once your pyramid is dry, paint it or cover with glue and sand for an authentic looking Egyptian step pyramid.
Extra Credit
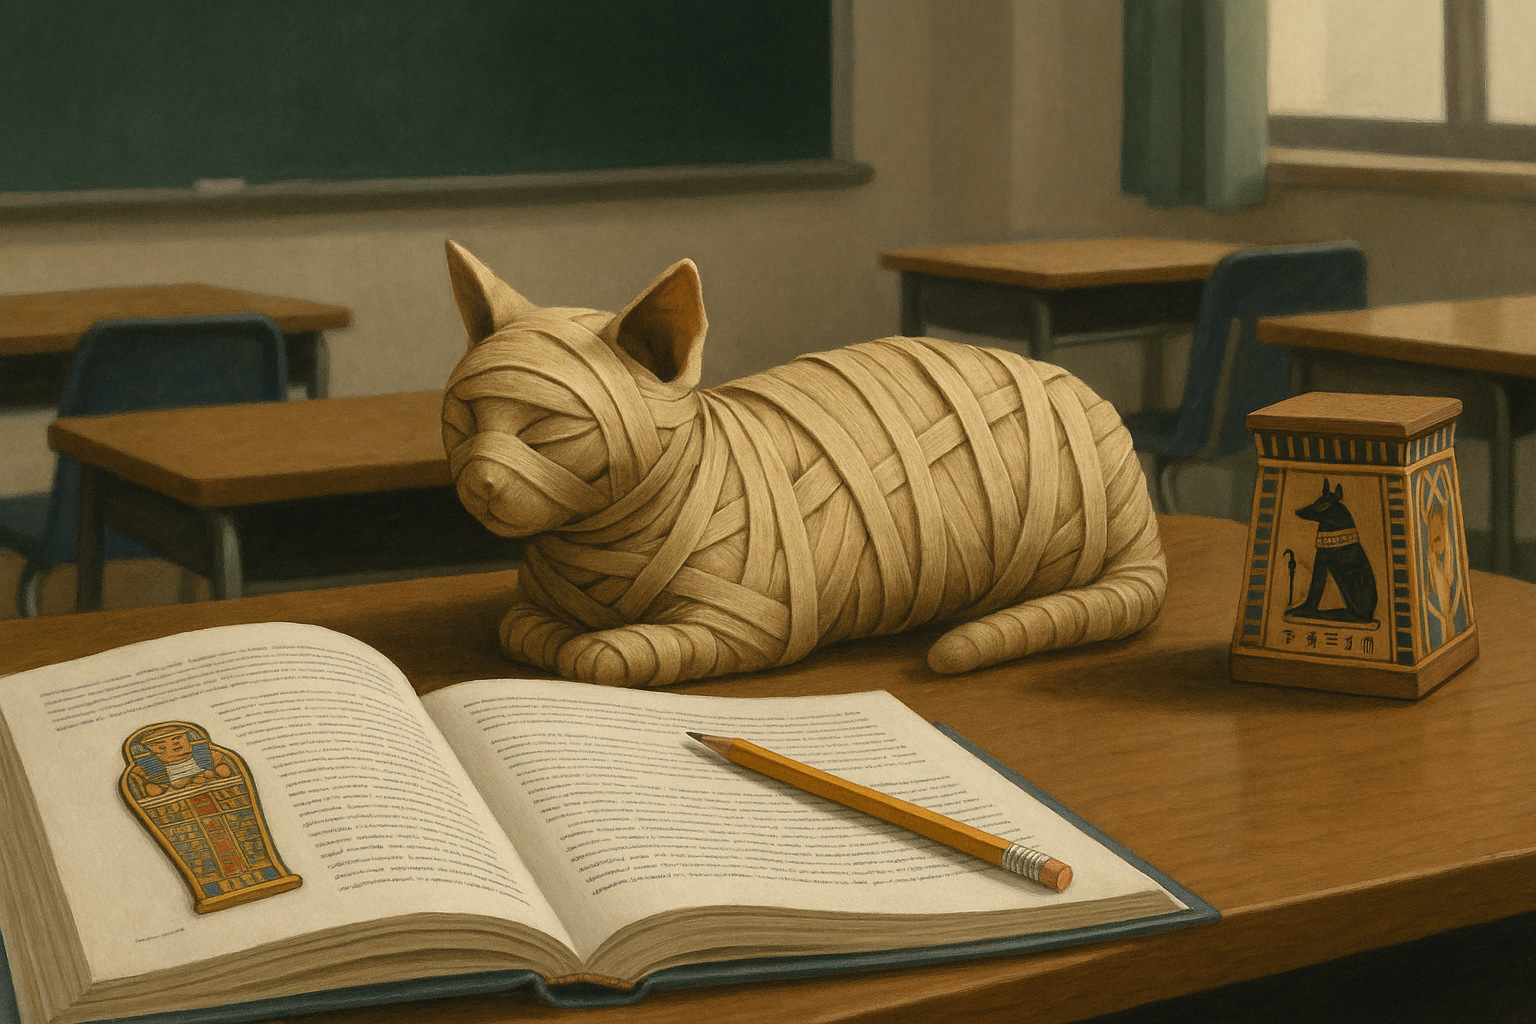
If you want to make an extra special impression with your step pyramid project you should consider making a model of the interior of the pyramid complete with mazes to trick thieves, a tomb complete with sarcophagus and mummy, treasures, wall drawings of hieroglyphs and whatever else you can think of. This will bring the project to another level and show your comprehension of pyramids and their purpose in the Egyptian culture. For even more ideas on how to add that extra touch to your project check out this article titled, Egypt School Projects .
References
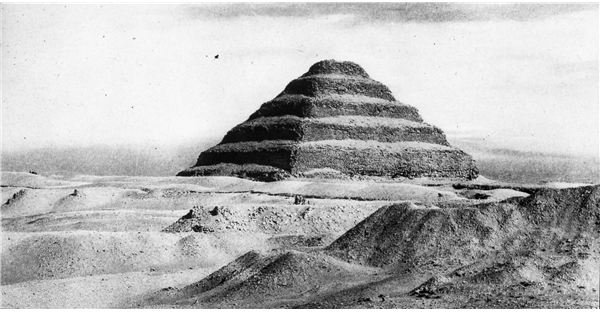
- Djoser Pyramid Image: http://commons.wikimedia.org -
- Lego Pyramid picture by Jenny Tetzlaff