An ink pad, candy, cocoa and a water glass: That’s all it takes to turn into a master sleuth with the science experiments outlined here. Practice the skill of taking and identifying fingerprints. You’ll be surprised at how low tech yet effective this fun experiment is.
Before There Was DNA
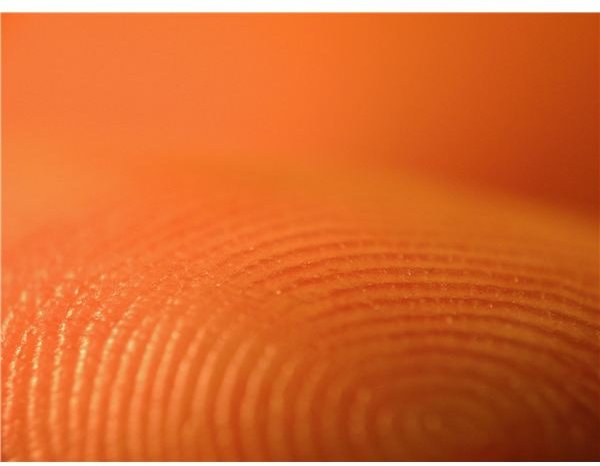
The science of fingerprinting has allowed law enforcement agencies to identify and prosecute criminals since the early 1900s. Fingerprints are unique to each individual and cannot be altered in the same way physical appearance can be changed. Until the advent of DNA identification, fingerprinting was the primary scientific method of identifying a specific person and excluding all others.
These science experiments will introduce you to a few of the methods of taking fingerprints and allow you to practice identifying the owner of the fingerprints. This practical, low-tech experiment is effective and fun, making it a great science fair project.
How to Take Fingerprints
Use a standard ink pad to practice taking your fingerprints. Utilize ink that washes off with soap for easier clean up. Gently roll your index finger across the top of the ink pad, and then gently roll the inked finger across a white index card. The ridges and whorls on the finger should be clear to read. If they are not then keep practicing until you can make your own fingerprint clearly.
Practice lifting fingerprints from glass with the use of cocoa powder, a piece of hard candy and a drinking glass. Put the candy in your mouth until it is sticky. Remove the candy from your mouth using the index finger and thumb. Once both fingers are sticky grasp the glass so the index fingerprint is on the outside of the glass. Dust the outside of the glass with the cocoa powder and gently brush away the excess powder. Place the sticky side of clear tape over the fingerprint and pull away. Place the tape onto a white index card so the fingerprint is clearly visible. Repeat as necessary to master the skill.
Comparing Fingerprints For Identification
Fingerprints are not useful unless there is something to compare them with!
Get a friend, family member, or an attendee at your science fair to volunteer to have their fingerprints taken. Randomly choose three fingers and take the prints. Compare your fingerprints to these samples. How are they the same? How are they different? Use a magnifying glass to compare the prints if necessary. If time is available, repeat the process with additional volunteers, including those who are a different age from you. Compare the prints to see how age might affect the size or other factors of the print.
The final project will be to identify an unknown print. Have the same people who volunteered to participate earlier stand in a room with a clear plastic jar. Give them each a piece of hard candy and show them how to leave their print. Ask them to choose one person to leave a print on the jar without telling you who. Leave the room long enough for them to leave a fingerprint. Take the fingerprint from the glass and determine whose it is.
Completing this experiment will create a better understanding of forensic procedures.
Resources and Photo Credit
The History of Fingerprints, https://www.onin.com/fp/fphistory.html
The Thin Blue Line, https://www.policensw.com/info/fingerprints/indexfinger.html
Photo Credit: Flickr/Kevin Dooley