Spring is the perfect time of year to teach your class about rainbows. This lesson plan suggests books to read with your class as well as activities to help them learn hands-on.
Discussion
[caption id="" align=“aligncenter” width=“600”]
A long time ago, people referred to rainbows as magical bridges across the sky full of colors. Children also look at rainbows as magical things. In fact, they may even ask you “How are rainbows made?” It’s time to teach a preschool rainbow science lesson to your class. For preschool students, this includes discussing that rainbows are natural occurrences. With a few simple rainbow experiments, these rainbows can be duplicated in the classroom to explain how they happen. Begin a discussion by asking the children a few questions to get them thinking. “Have you ever seen a rainbow in the sky? Was it on a rainy day? What did it look like? Can you name the colors? Reading books about rainbows is a way to begin your lesson. Here are a few suggested titles: Rainbow and You, by Edwin C. Krupp [HarperCollins, 2000] A Rainbow of My Own, by Don Freeman [Puffin, 1978] Over the Rainbow, by E.Y. Harburg [Peter Yarrow Books] All the Colors of the Rainbow, by Allan Fowler [Children’s Press, 1999]
How Are Rainbows Made?
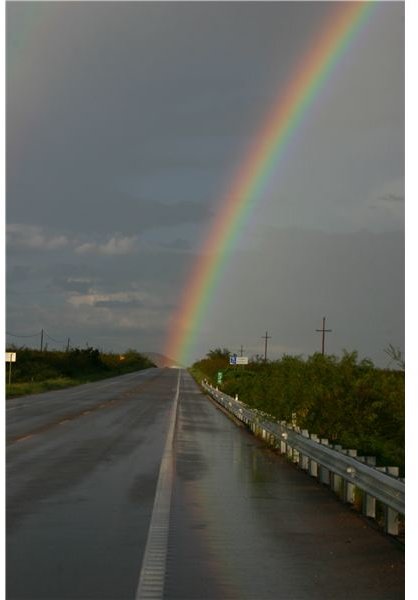
A rainbow is colored light seen in the sky when rays of the sun strike falling raindrops. Rainbows are curved because raindrops that reflect the sunlight are curved. Rainbows occur after a storm when the sun begins to shine while the air is still filled with raindrops. They occur most often in the morning or early evening. Stripes of the rainbow are colors of red, orange, yellow, green, blue, indigo (blue-red) and violet (red-blue). Sometimes one color may fade out (most often blue). The red is almost always seen. Sometimes two rainbows can be observed. A rainbow is really a circle and has no end. Occasionally passengers in a low-flying aircraft see rainbows that form complete circles. The bottom half of the rainbow is hidden from most observers because it is below the horizon. During your science lessons, children can make their own rainbows . Here are a few ideas: Show children some glass prisms. A prism is a transparent, solid glass, with three distinct ends. The prism separates white light passing through it into individual parts, the colors of the rainbow. Hold a prism to light and observe the colors. It will work best against a white background. Use a mirror in water. Place a small mirror in a glass or water. Place the glass of water so the sun will shine on the mirror. Turn the glass until the rainbow is reflected against the wall. Find the colors of the rainbow. Spray a fine mist of water from a hose. If weather permits, go outdoors and stand with your back to the sun. A rainbow will appear in the fine spray of the water.
Rainbow Art
Invite the children in your class to draw a rainbow using wet chalk as their art medium. Materials:
- Colored chalk
- Container of water
- White construction paper
Procedure:
- Soak pieces of colored chalk for about 5 minutes in a container of water.
- Show the children how to draw with the ends and sides of the chalk.
- Invite them to draw a rainbow arc with each color on the paper. The order of the rainbow is red, orange, yellow, green, blue, and violet.
- After drawing the lines, they can fill in a portion of each section.
- Note that children of this age may tend to draw rainbows in the order they wish, which is OK.
Talk about the process and rainbows while they are working. Ask, “What happened when you wet the chalk? Did the color change? Which color is the brightest? Which color is your favorite? Does your picture look like a rainbow in the sky that you saw?” After your class has completed a preschool science lesson, they should have a better understanding of how rainbows appear in the sky. Even though they are young, teach them the acronym Roy G. Biv and hopefully this name will be a reminder of the colors of the rainbow for them for years to come.
References
The information offered in this article is based on the author’s personal experience as an early childhood teacher. Photo Credits:


