Start your shape studies with the mighty rectangle! Plan preschool crafts with this shape for cutting practice, seriation and other essential skills. Shape up!
Four Sides and Four Corners
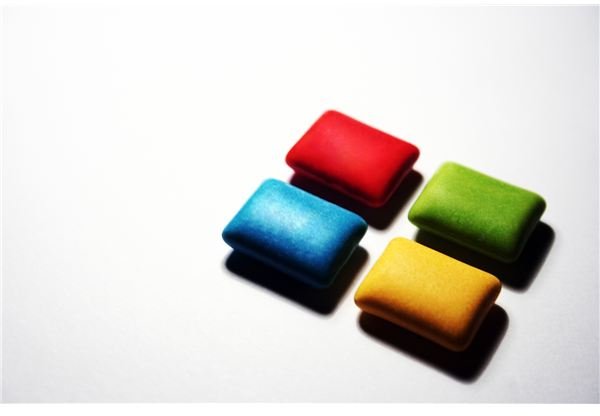
All rectangles have four sides and four corners. The difference between a rectangle and a square is the size, or length, of the sides. Two sides of a rectangle are long, while the other two sides are shorter. This is the simplest way to explain rectangles to preschoolers. Showing them the shape and passing it around will also help, as will comparing the shape to a square or other four sided objects. Allowing children to explore with unit blocks or tangrams will also help them compare and contrast rectangles with other four sided shapes.
When discussing shapes with preschoolers, try a craft or two based solely on the shape you are studying. These in depth studies of shapes will help children remember the attributes that make up a rectangle as well as any other shape you are learning about.
Cutting Practice and More
When planning shape based crafts, be sure to offer children the chance to practice cutting the shapes as well as assembling them.
Rectangle Robot: Use the attached template to create a simple rectangle robot with you preschool class. The template includes a few rectangle shapes to cut out and paste together, such as a body, head, eyes, nose, mouth, arms and legs. To add a bit of fun to your rectangle robot, fold the arms and legs in an accordion style before attaching them to the robot. For an extension activity, add other shapes to your robot such as a triangle hat, circle hands and square feet.
Rectangle Box Sculpture: Ask parents for donations of cardboard boxes in several different sizes. Jewelry boxes, tie boxes, cereal and cracker boxes and even moving boxes will work well for this project. Show children that most boxes are rectangular and rectangles can come in many different shapes and sizes. Use sponges and tempera paint to paint the different sized boxes. Give children duct tape or masking tape and allow them to sculpt with the different shape boxes. The children may choose to make a tower of rectangles, or attempt to create a figure using all rectangles. Display these creations around the room for all to enjoy.
Abstract Rectangle Art: Make several extra copies of the rectangle robot template from the activity above. Allow children to practice cutting the rectangles from the paper and collect them in a container of some sort. Later in the art center, bring out the box of colored rectangles with some glue and clear tape. Allow children to use the rectangles to create their own abstract art. Some children may experiment with color and size, while others will create figures and buildings using the rectangles. For art you can display on the windows, allow children to attach the rectangles to the sticky side of a clear sheet of contact paper. Then attach the contact paper to the window. This will create a stained glass effect.
Seriation Activity: This activity is not a craft, but can be used as an extension activity to your study of rectangles. You can use the rectangle boxes that were not used for sculpture for this simple seriation game with children. As a large or small group activity, put out all the box buildings the class created. Choose the smallest one and say “I have the smallest rectangle, which one of these is the next biggest rectangle?” Give children a chance to compare the sizes of the rectangles left on the table and choose the one they think will come next. Be sure to use size and seriation words such as big, bigger, biggest and small, smaller and smallest when participating in this activity with children.
Shape Studies
These are just the beginning! Crafts that focus on other shapes will enhance preschoolers’ early math learning while promoting their creativity too!
References
Photo Credit: gamerzero
All activities are provided from the author’s own classroom experience.


