Preschoolers love learning about animals. This preschool reptile craft will help them learn about turtles. It could be used to augment a unit on turtles, reptiles, or the story of the “Tortoise and the Hare.”
Everyone Loves Turtles
While children may be afraid of snakes or lizards, nearly everyone loves turtles . Maybe this is thanks to the “Franklin the Turtle” books by Paulette Bourgeois or the popular children’s fable the Tortoise and the Hare or perhaps little red-eared sliders just don’t seem as threatening as copperhead or as alarming as a lizard darting through the garden.
Whatever the fascination, preschoolers love to learn about turtles . This preschool reptile craft can be used in conjunction with a lesson on turtles, a lesson on reptiles, or to accompany a story which features a turtle.
Supplies Needed
The following supplies are needed for this preschool reptile craft:
- 2-3 different shades of green or brown construction paper for each child
- 1 piece of black construction paper per child
- 1 piece of white chalk
- 1 bottle of glue per child
- Photos of real turtles
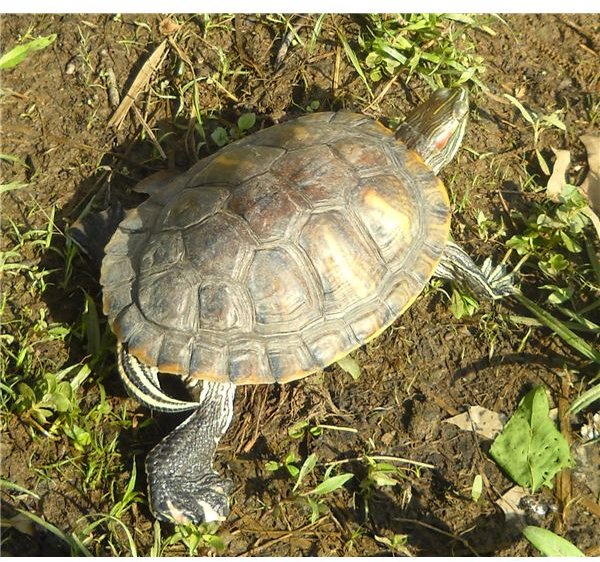
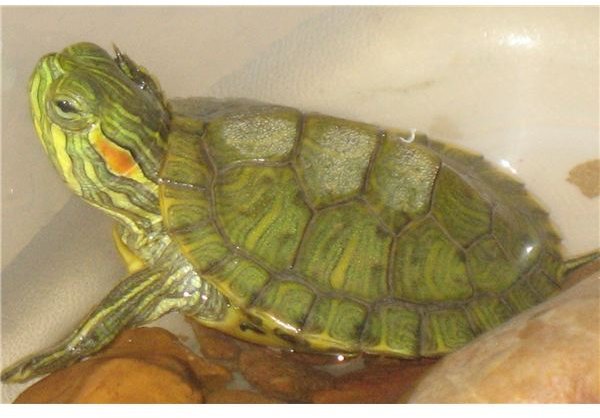
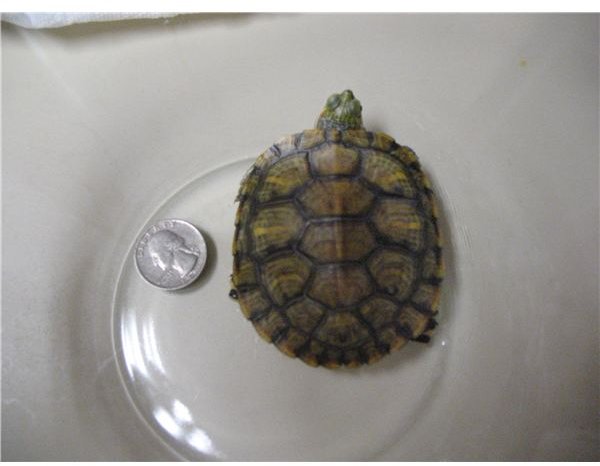
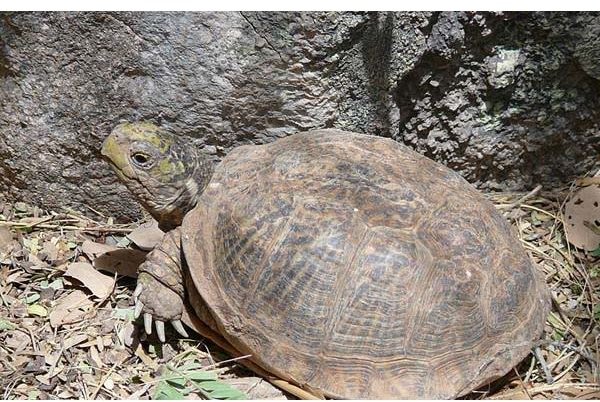
What Does a Real Turtle Look Like
Prepping for the Craft
It is helpful to discuss the nature of a turtle’s shell, or carapace, before beginning this lesson. Children should be shown photos of real turtles such as the ones included with this article. It is easy to see from these photos that a turtle’s shell is made up of many smaller pieces which grow in layers. For this preschool reptile craft the students will be designing a turtle’s shell and body with torn pieces of green paper.
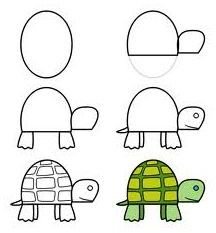
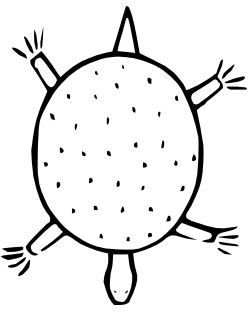
It is important to choose a template or design for what the turtle will look like. Teachers may draw one of of their own or choose one of the following options. This should be drawn onto each child’s black paper in white crayon or white chalk as an outline to follow. The finished craft should cover over this outline.
Some Sample Turtle Drawings for This Craft
Torn Paper Turtle Craft
- Teachers should draw the turtle onto the black paper with white crayon or chalk. The image of the turtle should fill the majority of the black paper.
- Each students should find at his or her desk one black paper with the turtle drawn on it, a bottle of glue, and two or three pieces of brown or green paper. Students should give students the choice between making a brown or green turtle according to their preference.
- Students should be instructed to tear the paper into small, uneven pieces each about the size of a penny or dime. The pieces do not need to be round. Separate pieces should be made for the legs, tail, and head. These parts of the turtles’ bodies should be made from one piece each, i.e., one for each leg, one for the head, etc.
- Students should first glue down the pieces that are the legs, head, and tail.
- Students will then glue the smaller, unevenly torn pieces onto the image of the turtles’ shell. The pieces can overlap or be evenly spaced according to each child’s preference.
- The craft is complete when the turtle’s body and shell are all covered in green.
Making torn paper turtles is a great preschool reptile craft that can be used to accompany a lesson on reptiles or turtles as well as a craft to use with a book with turtles.
Image Credits
- The photos of the red-earred slider were taken by the author of her own turtle.
- The photo of the box turtle is from wildlifenorthamerica.com. It is courtesy of the Arizona Sonoran Desert Museum, Tucson, AZ.
- The clip art of how to draw a turtle is from how-to-draw-funny-cartoons.com
- The cartoon turtle outline is from Clkr.com


