After learning the history of El Dia De Los Muertos, students will use slab-building to create a container out of clay, commemorating a loved one. This hand built clay lesson will surely strike the heartstrings of your students!
A El Dia De Los Muertos Clay Craft Project
Requirements:
In this hand-built clay lesson plan, students will create a container using the clay slab building technique, which contains characteristics relating to a person the student would like to commemorate.
The container must have a lid.
Process:
Before starting clay slab work, students learn about the history of El Dia de Los Muertos including:
- The Day of the Dead is a holiday celebrated in Mexico and many Spanish speaking countries. It is celebrated on November 1st and 2nd. This is a day when families come together to celebrate and remember their loved ones. There are parades to the cemetery where families have picnics on gravesites, and leave flowers and remember old times. Families begin preparing for this celebration several weeks in advance.
- One thing they prepare is an altar or “ofrenda”. (To commemorate any deceased relatives or friends, and is set up in their home. Usually has pictures, mementos, treats, and flowers.)
- Two treats that are made during this time are pan de muertos (plain bread that is coated with sugar) and sugar skulls (candy made from confectioner’s sugar, water, and lime. They are often decorated with flowers, icing and sometimes have small names on them, for loved ones).
- Skulls and skeletons are an important part of the holiday to symbolize loved ones. (Meant to be funny, joyous, and humorous.) Skulls are called, “Calaveras” and skeletons are called “Calacas”. The calaveras and calacas are often decorated to resemble what type of work the deceased did.
Students are advised to think about three people who have played a significant role in their lives. For each person, they should take into consideration their likes, dislikes, personalities, hobbies or jobs. Out of these three people, students should select one person to create sketches for a container based on the chosen person’s traits. Students should create a final drawing to work out ideas before starting work with clay.
The container will be built using the clay slab building technique.
Vocabulary & Techniques:
- Slab building: Building a form by joining sections that have been cut from sheets of damp clay.
- Leather Hard: The condition of a clay body that has dried somewhat but can still be carved or joined.
- Slip: A mixture of clay and water; Works as glue to fuse two clay pieces together.
- Score: Making small marks into the surface of the clay before adding slip or water to help fuse clay.
Students will begin the project by building clay slabs.
Clay Slab Building Tips:
- Rolling out the clay: To get an even thickness, place a yard stick on each side and roll out until the clay is the same thickness as the yard stick.
- Cutting clay slabs: Use a ruler or straight edge to help cut a straight line.
- Let clay firm-up before joining: After cutting out bottom and sides, let them sit until the clay is leather hard. For most clay this will take about an hour.
- Score or Scratch the edges: When the clay is leather hard use a needle or sharp pencil to scratch the edges of the clay where the clay will be joined together. A criss-cross pattern works well for this.
The clay slabs will need to harden to the leather hard stage before students can join them together. Shape & size will vary based on student idea & design. Students may decorate slab sections before joining or add pieces afterwards. Once the containers are built & fired, students will glaze using what ever glaze technique works best with their project. Students could also use acrylic paint instead of glaze to complete the project.
For another great hand-built clay lesson plan, click here .
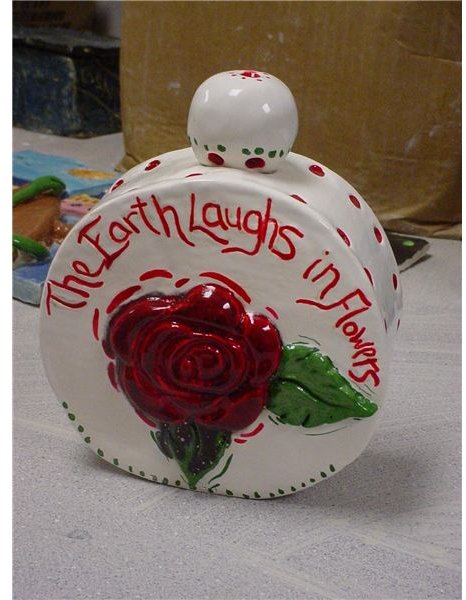
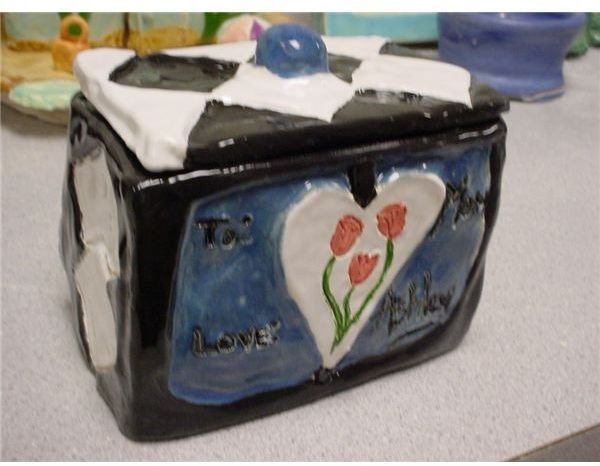
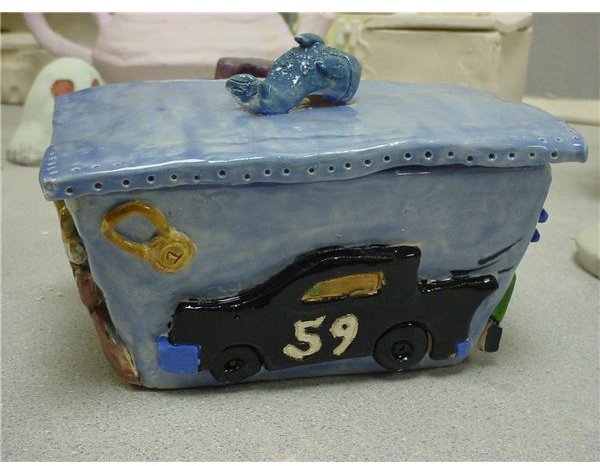
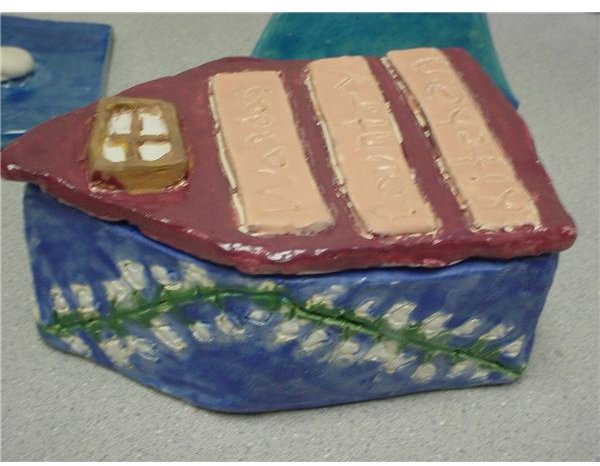
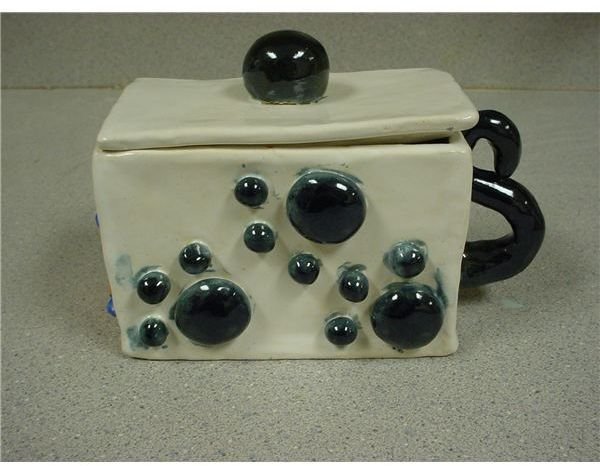
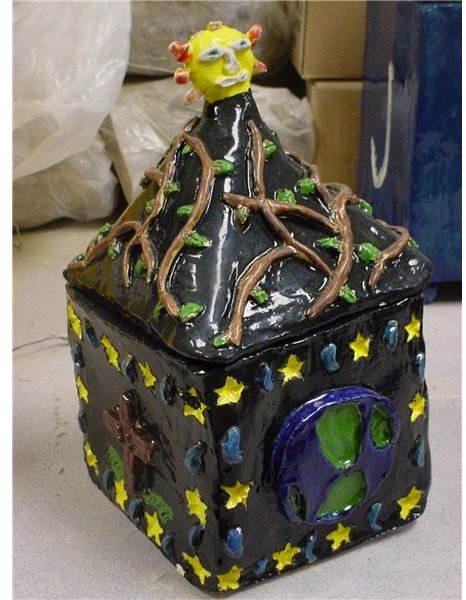
Student Samples