Artists express ideas in their paintings. Explain to your students how they go about it, by having them create a combined painting/collage work of art themselves.
Purpose
The purpose of this lesson plan is to explain to your students how painters conceive their ideas and then proceed to express them on their convasses. The idea may be to reproduce nature as faithfully as possible, as for instance in the works of Dutch painters like Beughel or else dissect nature and put it together in a totally different shape to convey an idea as in the Cubist movement. Whatever the artist’s intention, there is always a meticulous structure behind every serious painting. Nothing is random, even if it may seem so the the viewer.
This important principle can be taught to your students by having them devise and create a work of art themselves. The technique of combined painting/collage as explained here has several advantages: it’s fun, it serves -with modifications -for pupils of every age and capabilty and it trains understanding of art as well as the imagination.No great drawing or painting skills are needed, but an eye for details and composition is essential.
Materials
The materials needed to create a painting/collage combination are simple. All that’s required is drawing paper, water colors, several size brushes, good quality glossy magazines, printed on thick paper, sharp scissors and water proof glue.
Themes
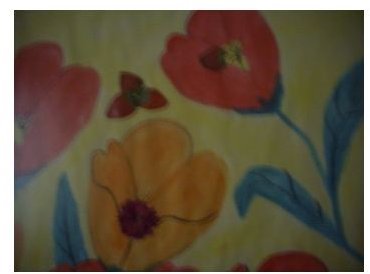
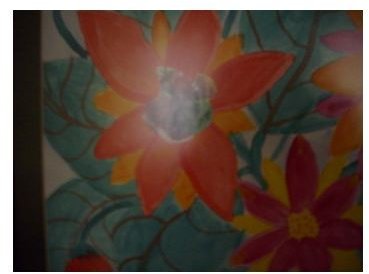
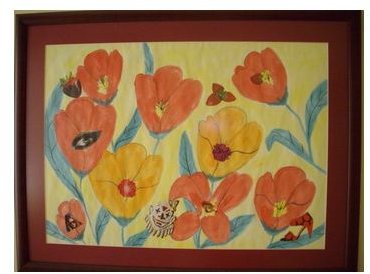
As the purpose of this lesson plan is to explain to your students how an artist transforms an idea into an image on his or her canvas, the choice of theme for this exercise is important. In this example it was ‘Living Flowers’ and the idea behind it was to convey flowers as human beings, with human emotions and character traits. Smiles, laughs, tears, vanity, modesty, friendship and everything else ‘human’ was to be expressed through modified flowers.
Of course, the choice of themes is endless and depends very much on the age group and interests of your students.
Living Flowers
Preparations
Your pupils may not be able to create perspective or even to draw a straight line without a ruler. However, anybody can paint a basic flower, leaves, a house, a wall, clouds or the sky. As in the example, each one of these subjects serves as the background and creates the theme of the exercise. Have your students open their box of water colors, choose a broad brush and paint petals, leaves or clouds. The colors should be vivid, divided into clear sections and details should be dispensed with. These are later provided by the cut outs.
Next step is the selection of the cut outs. You will have set the theme a few weeks in advance to enable your students to collect magazines and peruse them for suitable subjects for their work of art.Like the artist develops his idea to be expressed in his painting, they need to learn how to see pictures from a different angle and to train their eye how details can be taken out of context and be re-assembled in a different scheme and shape.
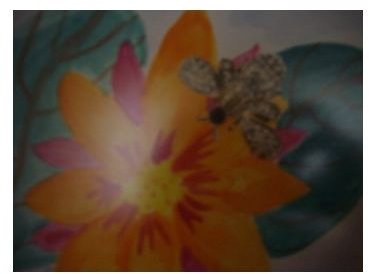
Once the painted background has dried through, your students will cut out the parts and details from the magazine they have selected. It’s important to work and cut with great precision. The scissors need to be very sharp and no black or white margins from the original picture must be left on.
Glue is then pasted onto the back of the cut outs and, if need be with the help of tweezers, the pieces are put into place and firmly pressed down.
The finished picture should be set on a passpartout which matches one of the colors in the painting or else sets off the entire composition. The work of art is best preserevd framed and under glass to avoid the cut outs falling off.
When using cut outs from magazines, be careful about copyright to the photographs. Make sure, the pictures can be used, although if only small parts are being used and not the picture as a whole, there should be no problem.