Looking for kids’ Christmas paper craft ideas? Why not learn how to make a paper poinsettia? Poinsettias are a wonderful addition to any holiday decor, and these simple-to-follow directions will keep little ones amused for hours on end.
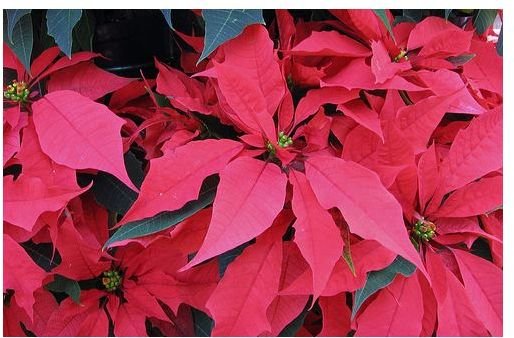
The poinsettia plant is often thought of as a festive holiday decoration at Christmas time. With this in mind, learning how to make a paper poinsettia is a wonderful kids’ Christmas paper craft. by following the simple directions offered below, children can learn how to make a paper poinsettia on their own, and then combine their crafts to create beautiful ornaments, wreaths and other holiday displays.
Materials
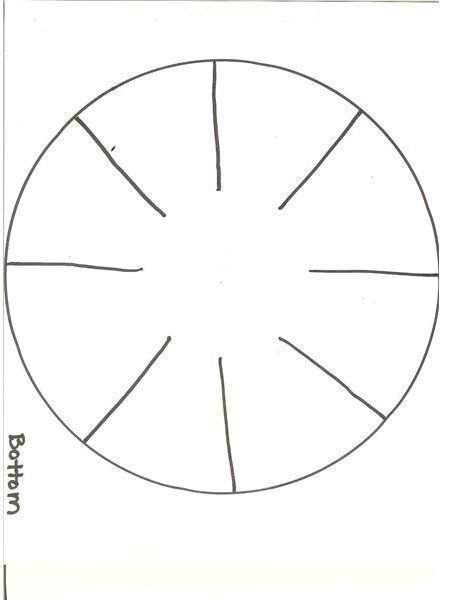
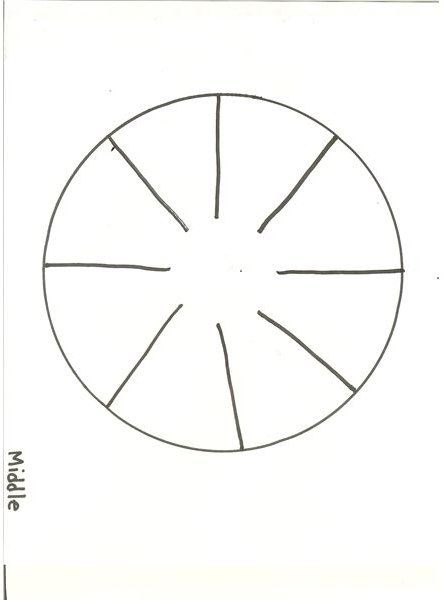
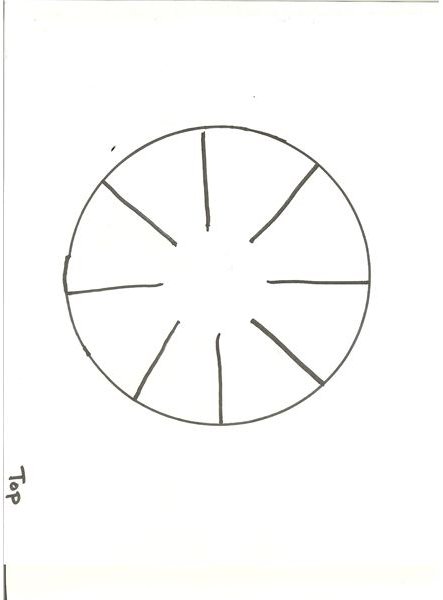
Before beginning these kids’ Christmas paper craft poinsettias, be sure to gather all of the necessary supplies. You will need to photocopy the set of templates offered below onto red construction paper. Do note that these are actually three different templates - one for the bottom, middle and top of your poinsettia plant. Every child will need one copy of each of the three templates. The three templates combined create one poinsettia flower. Therefore, multiple flowers will require multiple sets of the three templates.
Besides the photocopied templates, you will also need:
- scissors
- glue, paste, rubber cement or a glue stick
- one brass fastener
- gold, silver, red, or multi-colored glitter (optional)
Directions
Begin with the largest circle template. This should have been photocopied onto red construction paper. If photocopying is not an option, simply cut the template and use it to trace the circle onto the red construction paper. From there, you can draw the individual lines which divide the circle into 8 pie-shaped pieces.
Cut the circle shape from the construction paper. Discard scraps. Next, the lines within the circle will be cut. Beginning from the outer edge of the circle, make cuts following the line into the center of the circle. Be careful not to cut entirely into the center. Instead, be sure to stop where the line ends.
Next, you will fold the ends of each pie-shaped piece into a triangle. The edges of each piece will overlap slightly. This is where you
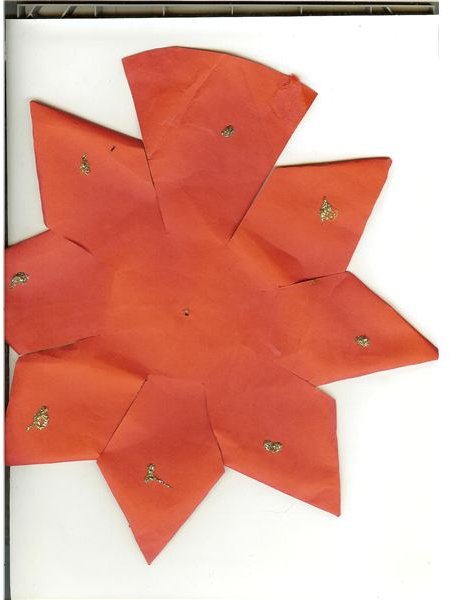
will apply the glue, so that they are secured and do not come apart. Continue doing so, all the way around the circle. Lay the completed flower on the table, so that the glued sides are facing the bottom, and cannot be seen.
Next, move on to the middle and small circles, repeating the same steps as described above. When you are finished, you will have three separate poinsettia flowers. Stack the flowers so that the largest is on the bottom, and the smallest is on the top. Push a brass fastener through the center of the three flowers, and open the fastener on the back side, so that all three flowers are secured to one another.
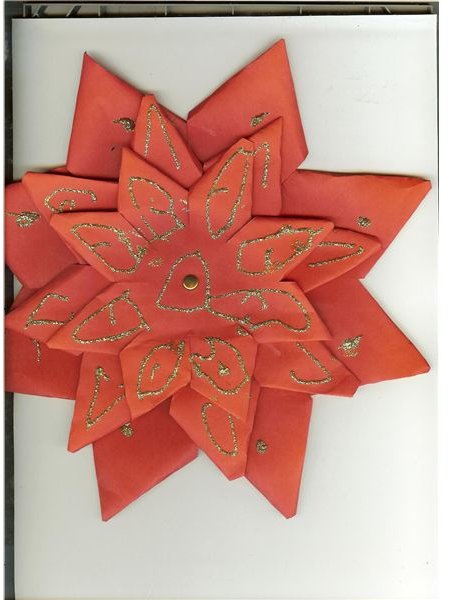
If you so choose, the poinsettia may now be decorated with glue and glitter - for a festive touch.
Decorating with Paper Poinsettias
There are many ways to decorate using these kids’ Christmas paper craft poinsettias. Here are a few to get you started:
- Attach a pipe cleaner, piece of wire or fishing line to the back of the poinsettia and hang them on the Christmas tree, as an ornament
- Simply place the poinsettias on boughs of the Christmas tree
- Use in place of a star at the top of a Christmas tree
- Glue several poinsettias around a paper plate with the center cut out to form a poinsettia wreath
- Place on top of a napkin in lieu of a napkin ring
- Use on top of a present, in lieu of a bow
Once kids understand how to make a paper poinsettia, you can extend the fun by reading The Legend of the Poinsettia , by Tomie dePaola.
Templates
References
-
Other Images courtesy of Amazon.com and the author


