In today’s lesson in the series about USDA’s food guide, MyPlate, students report on what they ate for lunch and group the foods into the appropriate sections on the plate.
Using the Food Guide Plate
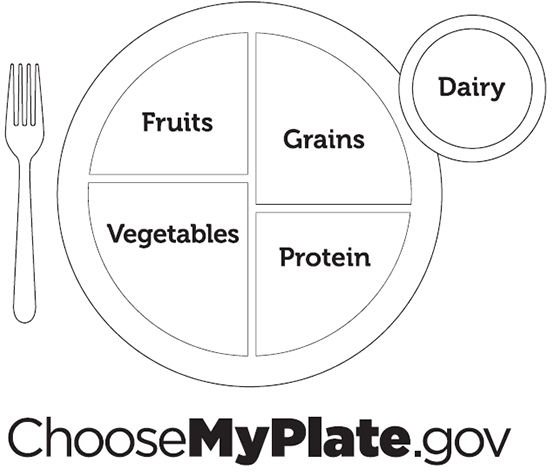
This is a practical nutrition lesson for students to learn about the food groups and how to use MyPlate to group foods. Students draw and label the foods they ate for lunch and chart them onto the food guide plate.
Materials
- Enlarged plate, one for each student. Available at MyPyramid.gov
- Pencils
- Crayons
- Scissors
- Glue
Prior Knowledge
Show students the MyPlate that they have been working with from past lessons. Review the plate and each of the groups.
Teach
Show the students a plate. Stand the plate on its side. Ask the students what would happen if you tried to balance the plate on its side. The students will brainstorm ideas like, it will fall over, it cannot stand and so on. Tell them that the same thing happens when we do not eat properly. We will “fall” if we do not eat properly.
Show the students lamented pictures of food and where the foods belong on the plate. It would be easiest to use the foods from the interactive bulletin board. Make a list of the food that you ate for breakfast. Have labeled pictures drawn ahead of time of the foods. Show the students a blank plate and tell them that today you will show them how to take a meal and break it down into food groups to put onto the plate model.
Procedure
Give a copy of an enlarged, blank plate to each student (this can be done on a copier, poster maker, or overhead projector). Students will label and color the food groups first. Have the students draw pictures of each food that they ate for lunch and label the foods. Students color and cut the pictures of the food. Glue the foods onto the bottom of the plate in the appropriate groups.
Assess
Can students put the foods into the correct food group?
Neatness in labeling and coloring is always expected.


