Easy Flower Watercolor Art Project for Mother's Day: For Grades First Through Eighth
Getting Started
This watercolor art project is an easy art project to do in April, May or June. Students can easily create pretty backgrounds by combining yellows, reds and blues. Special effects are added to the background, then flowers are painted overtop. This is a versatile watercolor project that can be used for all kinds of flowers. It makes a great Mother’s Day gift. This is part of a series of watercolor projects using simple watercolor painting techniques, materials and seasonal themes.
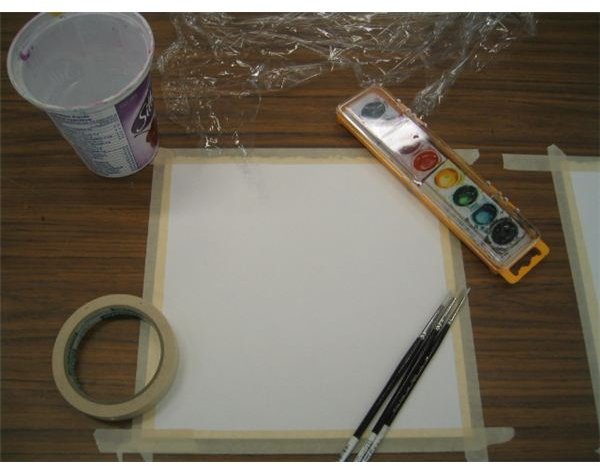
Materials
- watercolor paints
- paintbrushes
- watercolor paper (8 ½ “ x 11 “)
- masking tape
- saran wrap
- pencil
- ruler
- dowels
- white acrylic or tempera paints
Step 1 Create a border
Using watercolor paper cut to 8½ x 11 inches (standard paper size), tape the 4 sides of the paper to a work board to paint on. You can measure a ½ border around the edge with the ruler. The work boards can be 12” by 16” hardboard, old tiles, or a table. This will leave a white border around the watercolor when finished.
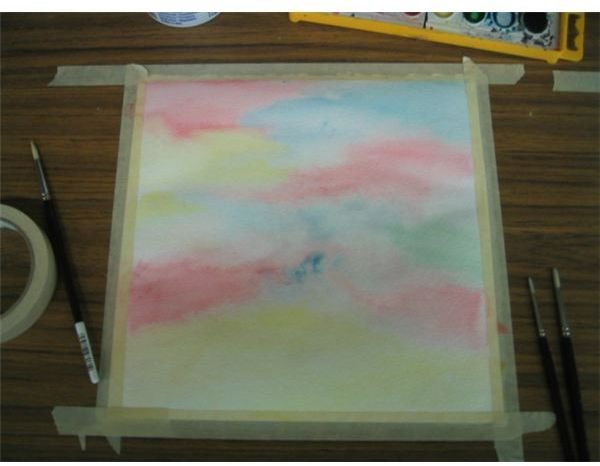
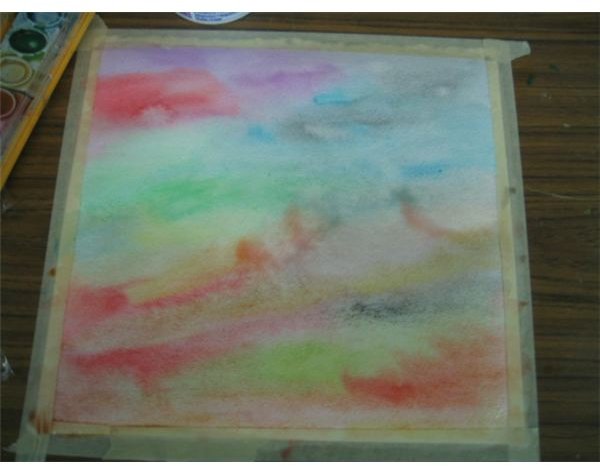
Step 2 Paint in the background
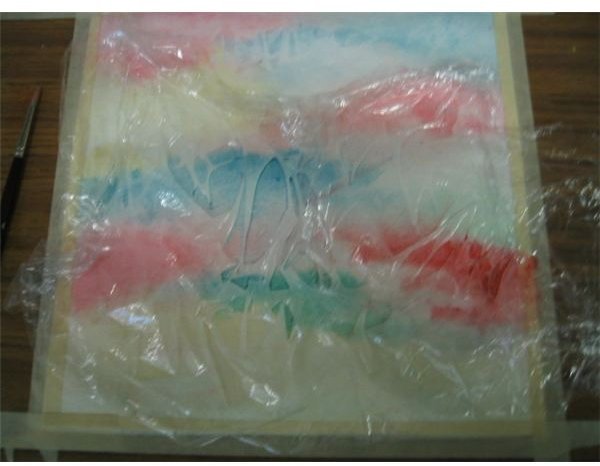
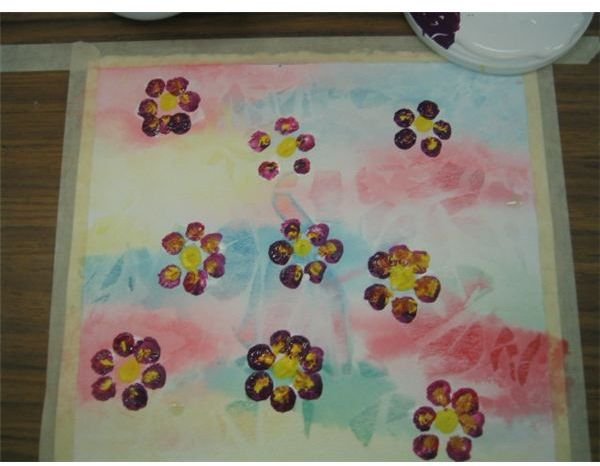
Apply a watercolor wash in the background using clean water. Use pinks, yellows and blues or any combination of grays, blues, purples and reds. The more watery the paint applied, the lighter the color. Apply crinkled or scrunched up saran wrap over the entire surface.
Prep and Add Special Effects

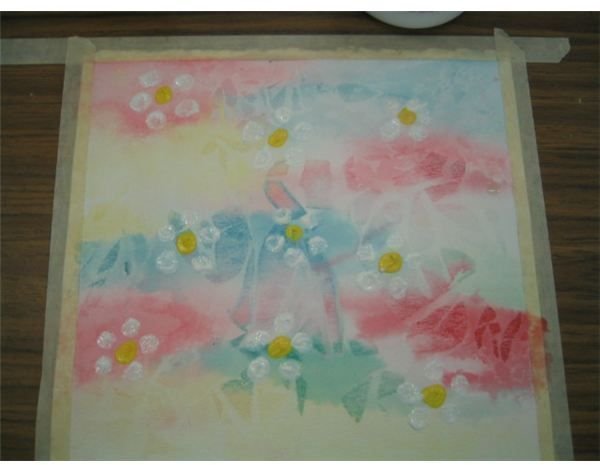
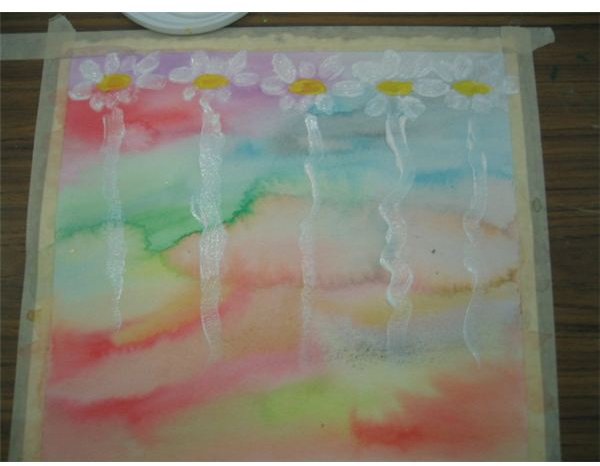
Step 3 Paint in the flowers
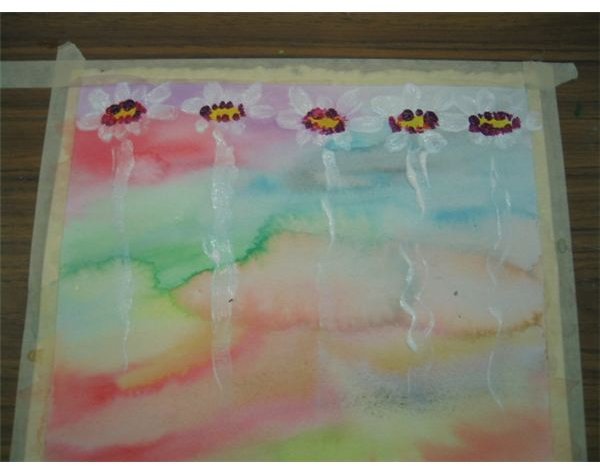
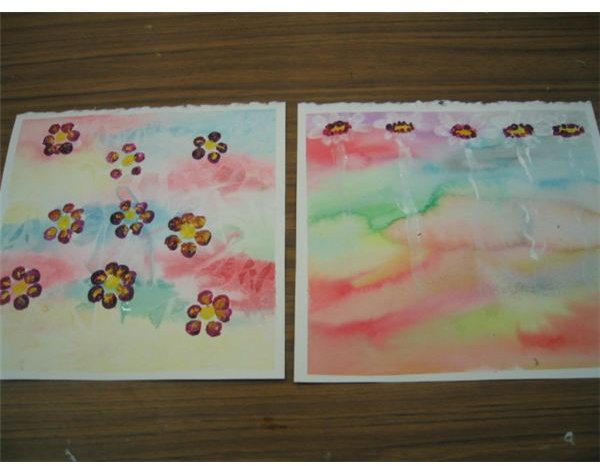
When painting is dry, remove saran wrap. Stamp flower centers with dowels dipped in yellow acrylic or liquid tempera paint. For daisies, paint yellow ovals as flower centers at the top of the paper only. Stamp white acrylic paint around the yellow centers using a dowel. Dowels can be of different sizes. For daisies, paint white oval petals around centers. Enhance daisies with small dots of purple or blue around the yellow center oval. Then add white acrylic paint stems waving down the page.
Step 4 Drying and finishing
Dip a fan brush in watered-down white acrylic paint and tap it with a wide brush to cover daisy painting with a splattering of white paint. Also a fine sharpie can be used to define any petals or stems if wanted. Remove the tape border.
Painting Stage

Finishing Touches
Hints and Tips
For watercolor paper, brushes and paint suggestions,see part 1 of this series.
Backgrounds and special effects for this watercolor projects can be achieved with plastic or saran wrap. It should be scrunched up when put on. A heavy object or book can be placed on top to hold it down.
Do not mix the colors in the paint box. The colors will blend on the paper. Make sure to cover all the white spaces on the paper. Add more water if the surface dries up as you work. If water is put on later, it may appear with a puddle-like effect.
Change the water often. Remind students not to keep brush in the water.
Keep a paper towel near each student to dab the brush if needed.
If too much water is on the paper, dip the brush on the paint and it will soak up the extra water. This is called sponging up the water. The extra water can be dabbed onto paper towel.
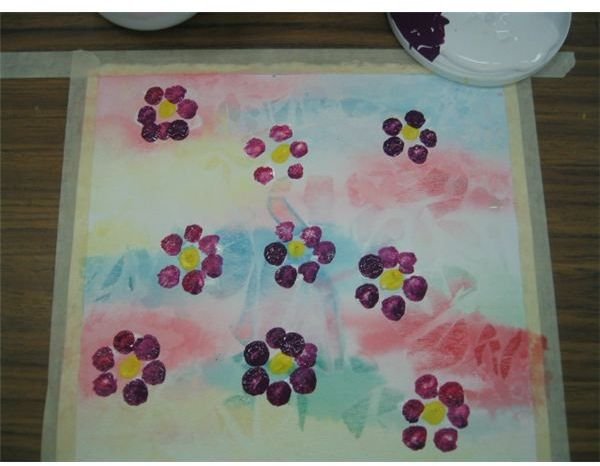
Use the end of dowels or a stiff paintbrush to paint the petals. Try to paint round circles with the brush by swirling the brush in a circular motion. Practice on a separate piece of paper towel before adding to painting.
Lessons to Teach
Use the lesson to teach about the various kinds of daisies. Real flowers can be shown to describe parts of a flower. Students can learn about different lengths of petals or the symmetry of the round flowers. Students who want to use a different order other than white for the petals should be allowed to try them. For example, purple may be used to show how violets grow. Paint the center’s yellow or orange such as in a pansy. Bring in the flower called mums. It is usually a bright yellow. Students may want to use their mother’s favorite color for flowers.
Use the lesson to teach the primary colors - red, yellow and blue, and how they form the other colors. Teach about famous artists who use flowers in paintings such as Monet or Vincent Van Gogh.
Use the lesson to teach how acrylic paints are more vibrant than watercolors and therefore will mix easily on the flower’s petals. Teach about the ability of watercolor paints to mix easily. The technique of moving the board to let the water do the work is easy to understand.
Children will find this an easy watercolor painting project to paint as flower watercolor art produces excellent results when blending colors. The watercolor painting techniques are easy to apply. Try this easy and pretty art project in spring for Mother’s Day.
This post is part of the series: Watercolor Art Projects For All Seasons
Watercolor Art Projects with seasonal special effects for fall, Remembrance Day, Halloween, Christmas, winter, Valentines, Easter, spring and summer. Painting projects using different techniques and skill levels will be provided with spectacular results for all ages. Fun and easy projects to use.