Spring Folk Art Collage Lesson Plan
Objective
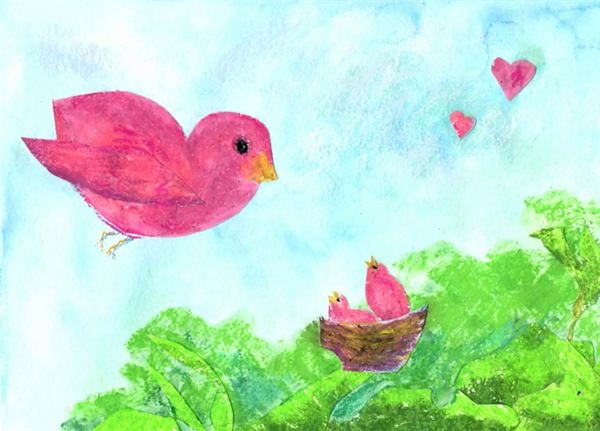
Students will use the basic shape of the oval to design and create a folk art-style spring collage featuring the subject of birds and eggs.
Materials
- Cardboard oval cutouts (varied sizes)
- Oil pastels
- Soft pastels
- Glue
- Watercolor and brushes
- Cardstock or thin cardboard for additional cutouts as needed
Lesson Procedure
Note: teacher may want to make several collages ahead of time to share as examples with the class during the introduction.
Step One:
You may want to begin by sharing some examples of folk art from around the world, demonstrating to students that they will be working with simple shapes and flat planes of color to create bright, stylized pieces of art.
Ask students to note that the bodies of birds often follow the form of an egg, which is a basic oval shape. Give students a few minutes to sketch birds, working outward from a basic oval as the main form of the bird’s body.
Step Two:
Students will setup their materials and play with the cardboard oval cutouts to create their designs, using larger cutouts to identify the placement of birds and smaller ones for eggs. Students may choose to place their birds in a setting, such as trees and nests or a windowsill, or they may decide to make an abstract design that focus on the birds and eggs themselves without a setting.
Once they have arranged ovals into their basic designs, students can trace the ovals for future guidance as they work on completing the collages. Students can also cut out any additional shapes they would like to add to complete the collages, although additional shapes should be smaller and kept to a minimum, as the focus should be on the ovals for this project. Students may wish to use small cutouts to add wings and beaks to the birds if they do not wish to draw them onto the ovals after they have been glued down.
Step Three:
Instruct students to give their pictures a light wash of watercolor to create a background. While the background is drying, they can color their ovals and other shapes using brightly colored oil pastels. Once the background has dried, students can begin gluing down their oval shapes. Glued shapes must be allowed to dry thoroughly so they do not move around when students apply additional layers of color. Once the glue has dried, students can glue down any additional layers of shapes as desired, or they can begin blending soft pastel to unify parts of the picture with the watercolor background. Remind students that they should let the oval shapes of the birds and eggs be the focus of the pieces, keeping the colors of other objects slightly more muted or complementary.
Assessment
Teacher will display student work and allow peer critique of the use of ovals in the works as time permits.
Extension
Once completed, pictures should be framed under glass to keep the soft pastel from rubbing off on hands when touched.