How to Create Digraph Flash Cards Using Microsoft Word
Creating digraph cards in Microsoft Word is relatively easy. This tutorial will give you instructions for Word XP/2003 and 2007/2010 so that everyone can easily follow along to create their own card.
Note: You can use these directions to create any type of flash cards. Just change the content inside each card and it will still work for you.
Gathering Your List
The first thing that needs to be done is the list of words. Since digraphs use consonant sounds, you need to split your list so that each word for each digraph is together. Put the words from each digraph into their own column. Here is an example of a list of words you can use for each digraph:
CH (beginning with):
choice, chop, chips, chew, cheer, chase, chain, chalk
CH (ending with):
coach, beach, teach, each, reach, ouch, touch
SH (beginning with):
shine, shop, shell, shout, shade, shower, share, shut
SH (ending with):
wash, fish, dish, rash, push, rush, slush, mesh
TH (as in thing):
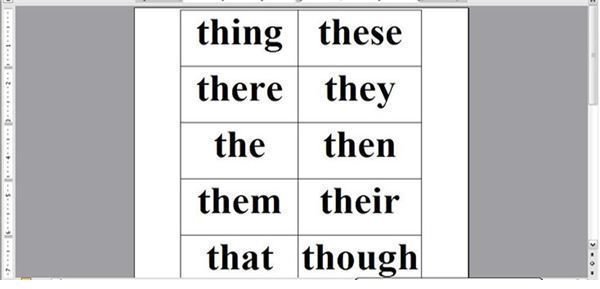
thing, these, there, they, the, then, them, their
TH (as in this):
this, theft, thumb, with, truth, thank, thick, thin
WH:
when, why, where, what, white, while, whistle
NG:
ring, sing, thing, ting, challenge, change, rang, sang
NK:
rink, sink, mink, think, rank, thank, link, dink
Side Note: Use words that are familiar to your child. Favorite foods, toys, games, or names of family and friends are good words to use.
Creating Your Cards
After gathering your list, you are now ready to make the cards. Use the instructions below for the version of Microsoft Word you are currently using. To do this project, you will need to know the basic operations of Word like setting font sizes, setting text alignment and adding ‘Bold’ effects.
Microsoft Word XP/2003:
- Open a new blank document in Word.
- Click on ‘Table’ then ‘Insert’ > ‘Table’.
- When the “Insert Table” dialog box appears, choose two (2) columns and five (5) rows. Click on ‘OK’. The table appears.
- Highlight the table and change the font size to 72-point font. Change the text alignment to ‘Middle’ and ‘Bold’ the text.
- Add a page break after the table. To do this by clicking anywhere below the table and clicking ‘Insert’ then ‘Break’. Choose ‘Page Break’ from the “Break” dialog box. Click ‘OK’.
- Highlight the first table and copy it. Then paste it onto the second page. You should now have two tables.
- In the first table type in the words from one column of your list. For example, see the first image below.
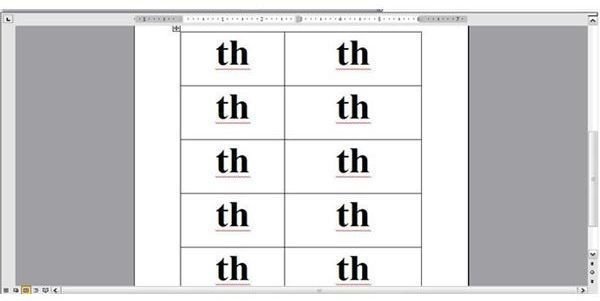
- In the second table, type in the digraph that the word falls under on the list. For instance, if you typed in all the ‘th’ words, type in ‘th’ in each cell in the second table. See the second image below.
- Change the height of each row. Highlight the entire table. Click on ‘Table’, then on “Table Properties”. Click on the ‘Row’ tab. Click on ‘Specify height’ under “Size”. Type in “1.5” in the textbox next to the ‘Specify height’ checkbox.
- Print out the document on cardstock paper. Choose the option to print a two-sided document. Cut out the cards. Each one should have a word on the front and the corresponding digraph on the back.
Word 2007/2010:
For 2007 and 2010, the steps are essentially the same. Moving around the program is different because of the ‘Ribbon’ that is in the 2007 version is different from the menu and toolbars in XP/2003. The steps below only describe the differences.
- Follow the steps for the XP/2003 instructions. To insert a table, click on ‘Insert’, ‘Table’, then ‘Insert Table’ from the Ribbon.
- Finish following the steps from above.
Time to Practice
You now have your own digraph cards. Create as many as you want with as many words as you can find. While practicing with the child, use a variety of methods to associate each digraph with the words on the back. Check back on Bright Hub for more information on how to continue to develop your spelling program or on tips for home schooling students with special abilities.