Preschool Monarch Butterfly Craft and Symmetry Lesson Plan
Materials Required:
-
Black Construction Paper
-
Glue Stick
-
Assorted orange and yellow tissue paper
-
Scissors
-
Orange and yellow stickers (round ones work best)
-
Orange and yellow pom-pons
-
White craft glue
-
Chenille stems
Preparation:
Cut black construction paper into butterfly outlines. This should be a paper frame and the wings should be open to allow for a stained glass look. Each child requires two butterflies for this preschool craft.
Cut or tear tissue paper into manageable sizes.
Teach About Symmetry:
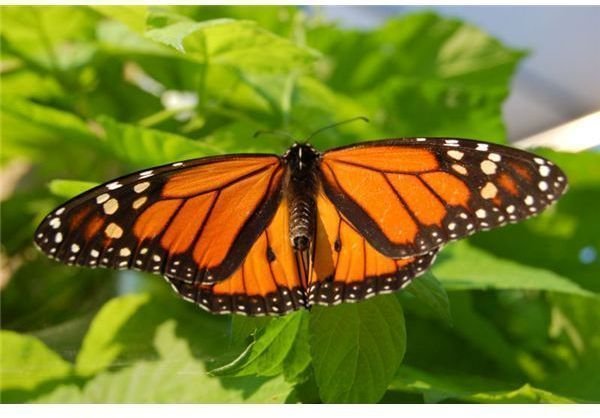
Prior to embarking on the butterfly craft project, students should understand the concept of symmetry. Explain that symmetry is not the same as being identical; instead it is like a mirror image. To demonstrate this, you might try putting a mirror next to a picture of a monarch butterfly. Position the mirror so that the children can see the reflected image of the picture. Point out how the reflection looks the same, and how it might look different. Together, the two sides create symmetry. Another idea is to read a book on symmetry such as Symmetry, by Longman Publishing. You may also wish to spend some time playing with pattern blocks - allowing the children to create symmetrical pictures. This will reinforce the concept and ensure successful completion of the project outlined below.
You will also want to spend some time talking about the Monarch butterflies’ migration. Monarch butterflies migrate every spring and fall. East of the Rocky Mountains they migrate to Mexico in the fall and return to the US in the spring. West of the Rocky Mountains they migrate to Pine Grove California in the fall and return to their homes in the rest of the US in the spring. Talk about the life cycle of a butterfly.
Directions
-
Each child will receive two butterfly outlines. Place one butterfly outline on a prepared work surface. Add orange and yellow tissue paper squares to the butterfly so that there will be no “holes” in the wings. Try to make both sides of the butterfly look similar.
-
Attach two chenille stems to the butterfly’s head for antennae.
-
Apply glue around the entire edge of the butterfly outline. Place the second outline on top of the first so that the antennae and tissue paper are sandwiched in the middle.
-
Add stickers and pom-pons to the outer edges of the butterfly. The idea is to maintain symmetry. Each side should be a reflection of the other.
-
Hang the butterflies around the room.
Extend:
-
Read other books about the Monarch Butterfly’s migration.
-
Watch streaming video online at Monarch Live.
-
Include this craft as part of the Symbolic Butterfly Migration Project.
-
Grow butterflies in the classroom as a science project. Study the lifecycle of a butterfly from catepillar through adult.