How to Paint a Realistic Self-Portrait? Portrait Painting Lesson for 7th Grade Students

Self-Portrait Painting
Students who have previously practiced drawing human faces and their own face will be able to transfer their skills to canvas in this portrait painting lesson for grade 7 students where they will create realistic self-portraits.
Materials:
- Small handheld mirror
- Acrylic paints – white, yellow, red, brown, black, blue, green
- Sketching pencils
- Paint brushes, medium and small
- Canvas or matt board
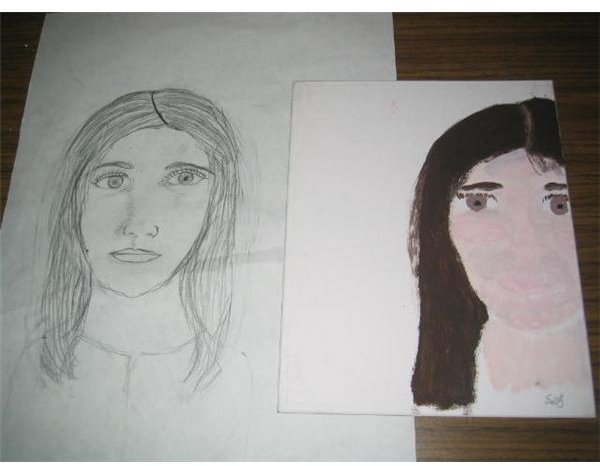
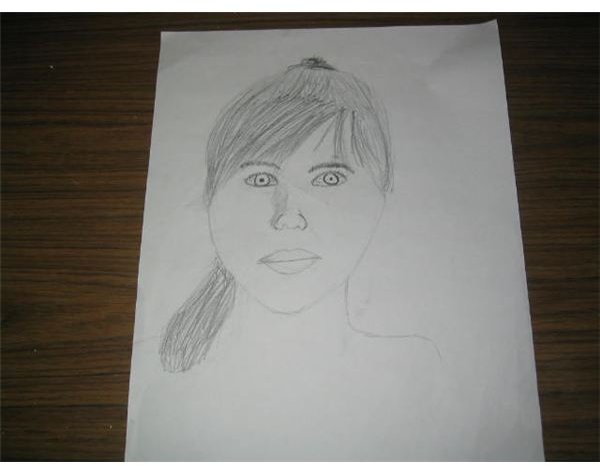
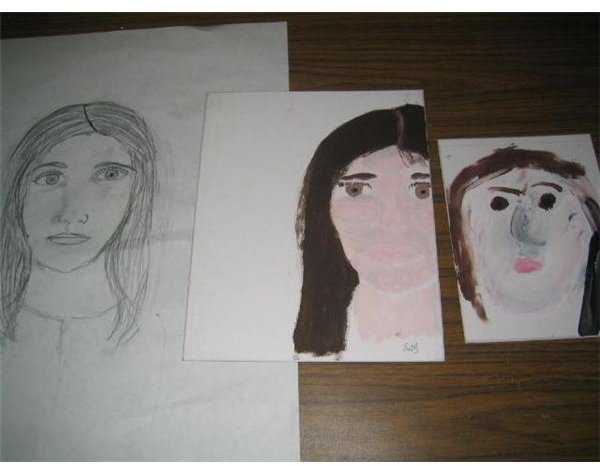
Have students go through the lessons in How to Draw Human Faces - A Drawing Lesson for Grade 7 (first lesson in this series), to create a drawing of their own face. Using a 4B pencil shade the back of the paper against a canvas so that the basic outlines of the face is transferred to the canvas. Do not have them start from scratch and redraw a new face. Partial or the entire face can be used for their realistic self-portrait. Do not worry about shading in and transferring every detail.
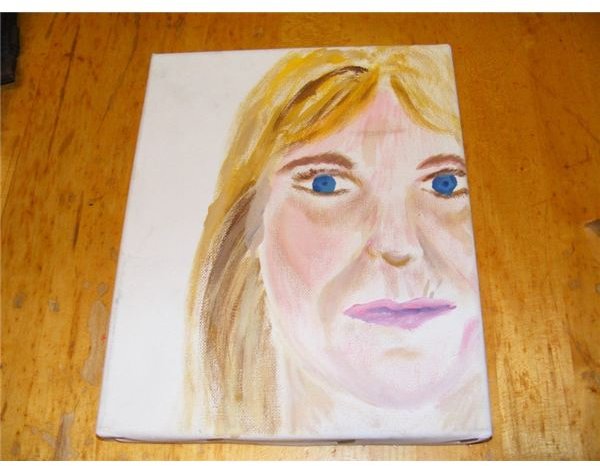
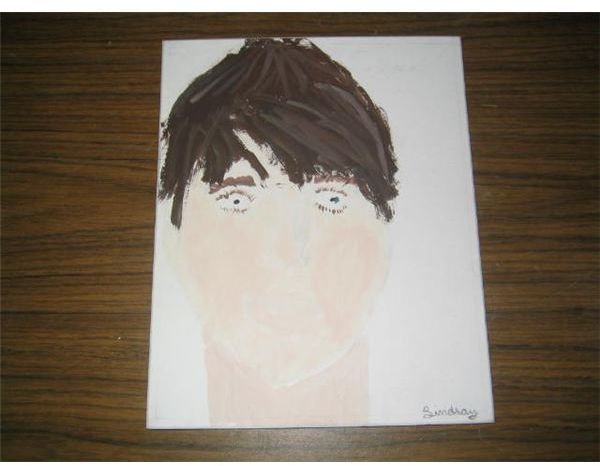
Step 1: Painting the skin
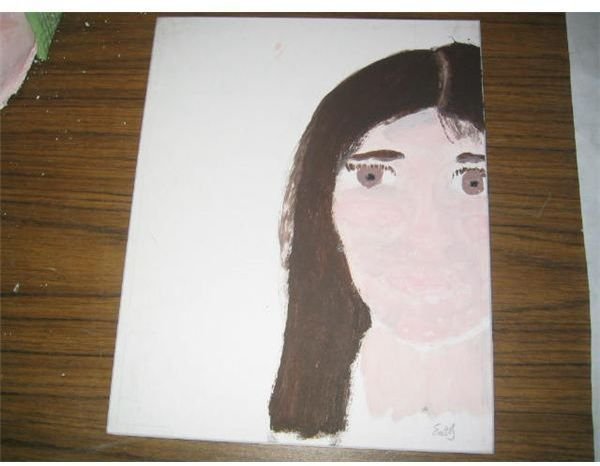
Mix a skin color by using mostly white acrylic paint and adding a touch of red and yellow to create peach. Students should paint in areas of the face near the nose and mouth where the light hits the face. If they paint the entire background of the face with the skin color, differences in skin tone will not be noticed.
Add a little red to the peachy paint. Use this new color to lightly paint in the lips and areas of the face where blush would be applied such as the cheekbones, chin, nose, temples. Use a drier brush or mix in while the paint is still wet on the painting. Remember to paint in a neck. Use curved strokes from the outside to the inside of the neck, but not covering the entire neck.
Images
Step 2 - Painting the Hair
Mix a color for hair and eyebrows. Use the brown and add white or yellow to it. Try not to use black as it is hard to tone down bright acrylic paint. Have the students examine how the light from a window or room is creating more than one color in their hair. Use the mirror to look at the hair and eyebrows closely. Brush the eyebrows with a small paintbrush using small strokes. Brush in eyelashes and hair color using strokes which go the way the hair grows on the head. Paint streaks of color together to create the effect of light on hair.
Step 3 - Painting the Eyes
Mix grey, blue or hazel for eye color. Have the students check the tone of their own eye color by looking in the mirror. Help them to create as realistic paint color as they can of their own eyes for their self-portrait. Paint the black of the pupil first. Then from the center outwards, paint in the color of the iris. Use streaks of white in the eye. Use a small paintbrush for these details. Try to paint a white spot where the light hits the eye from a light source.
Images
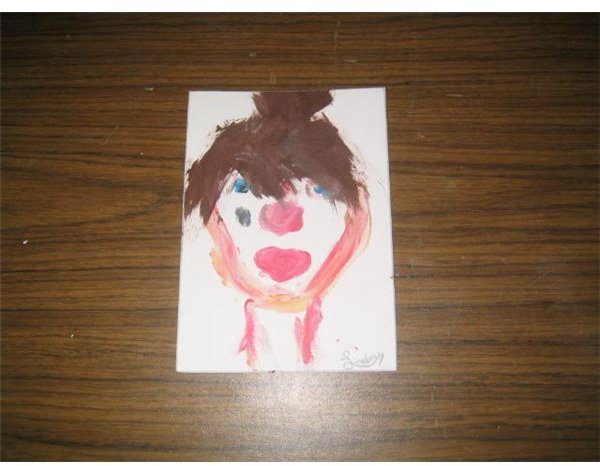
Final Step - The Two Minute Portrait Painting
The basic idea is to have the students look at their portrait painting and using the same colors, try to paint a creative expression of themselves in two minutes. They will try to use the face proportions they have learned, but will find that there is no time for details.
On a separate canvas, students are to paint themselves in a timed short interval of 2 or 3 minutes only. They should use the same colors that they have previously mixed for their self-portaits for skin color, eye color and hair color, so that they do not have to spend time mixing colors, just applying them.
They can use anything but a paintbrush to try to paint their portrait. These include: cotton swabs, toothbrushes, popsicles sticks, sponges, and sticks. Fingers are often used as students are not used to the other materials. The fun is in trying to create what they had spent much more time on in the past lessons.
The two minute painting is for fun and is for the purpose of creating an expression of their face. About every 30 seconds the teacher should give the time left so students get the basic face parts such as eyes, mouth and hair painted in.
Images

Displaying the Portraits
It is a good idea to display the “Two Minute Painting” with the self-portrait painting and even the pencil drawing. A good title is “The Art of Self Expression” or “Guess Who?”, if the names are not on the portraits. Have the students stand by their own drawings and paintings as a statue or wax museum figure for fun. Students will be able to see themselves in both. They will also learn that self-portraits can display the different aspects of someone’s personality. They will notice a resemblance of the paintings and drawings. They will learn that their attempts at drawing realistic human faces and painting realistic self-portraits may take practice and time, but they will be surprised with the results.
This post is part of the series: 7th Grade Art Lessons on Human Faces - Pencil Drawing, Painting, Mask Making
This series will provide 7th grade art lessons on how to draw faces, how to paint portraits and how to create masks of human faces. These mediums and methods will help with drawing faces and then drawing their own faces. Students will learn to build upon their beginning drawing and painting skills.