A Detailed Lesson on How to Draw Human Faces

Beginning Steps to Drawing a Face
Students will begin their lesson with copying skills and use concepts they may not have tried before. Once they complete a hands on activity they will have discovered the relationships on the face as related to the measurement of their own eye. Materials are simple and students will be surprised at how they can learn to draw their own face.
Materials:
- 6 inch piece of string or yarn
- 4B Sketching pencils
- Cartridge drawing paper 9 x 12
- Magazine photos of faces
Day 1 - Practice face drawing:
Have the students practice by trying to draw a human face from a photo in a magazine. Provide each student with a large picture of a frontal view of a person. Head on views are easier to use than side views. Each student should begin with a different face. To practice using right-brain thinking have them attempt to draw the lines of the face while the photo is upside down.
Look for places to use shading, but ignore the lighting and color in the photo. Using a photocopy of the magasine picture will help the students to see shape and form. Discuss the concept of shape and line in the human form. Display the first drawing attempts by displaying the magazine faces and the drawings together to show how close the student’s drawing was to the original.
Magazine Faces

Discovering Face Proportions
Day 2: Finding face proportions
Give each student a piece of string about 6 inches long. Have them tie a small knot at one end. Use the string to measure how wide one of their eyes is. Put a mark with the pencil on the string or tie another knot on the string to show the width of the eye. Strings are used so they can bend over the curves of the face.
Use this measured length to check other measurements on the face. Ask if their other eye is the same width. Check the distance between their eyes over the bridge of the nose. The distance between 2 eyes on a human face is approximately 1 eye length so the string will bend over the nose.
Ask the students to find other relationships on the face. They should be able to tell you that:
1 eye width = width of their nose
1 eye width = the distance from the bottom of the nose to the bottom lip and from the bottom lip to the chin
1 eye width = the distance from the edge of the mouth to their jaw-line on both sides of the mouth
1 eye width = the distance from the center of the bottom of each eye to the edge of their nose
1 eye width = the distance from the eye to the eyebrow, vertically
5 eye widths = the distance across a face.
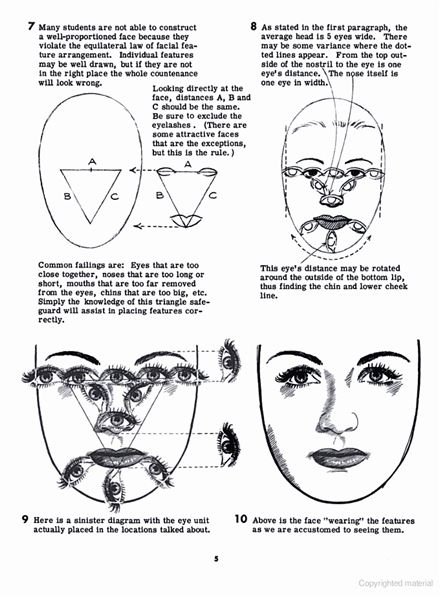
Once they have found all the relationships they can, give them a handout which explains these relationships in drawing form. Use the book, Drawing the Head and Figure by Jack Hamm. This book of essentials is easy to understand, is very thorough and is written by an artist/illustrator who is a genius at teaching basic drawing of the human face. Use page 5, showing the front view of the head, found at this preview on Google Books site: Drawing the Head and Figure. This book may be found in a library as it was printed in the 80’s. Many websites online still carry this valuable resource.
Face Proportions Using the Human Eye
Drawing A Realistic Face
Day 3: Drawing a human face
Materials:
- small handheld mirror
- 4B pencil
- 12 x 18 Cartridge drawing paper
Students should begin their drawing with the basic eye shape on the left or right side of their paper, approximately half way down the paper. Then based on the measurements of the eye drawn on their paper, they can place marks for the other eye, nose, bottom lip, chin, jawline and then the entire face shape.
Next they can draw in the other eye. Irises should touch the bottom eyelid but not be a complete circle. The top lid should cover part of the iris. A lid line can be drawn in slightly above the eye. An eyebrow with small hairs can be wider than the eye.
Draw in the basic shapes of the nose and lips without filling in much detail. For example, when drawing in the nose, draw a curved line with the nares being 2 darker oval, flat shapes rather than 2 large round holes. Remind them not to draw 2 lines for a nose but use a bit of shading on one side to indicate the side of the nose and the shadows of the eyes.
After drawing the entire head shape, show students how to fill in a hairline and watch how far down the part in their head begins. Draw hair in front of ears or behind them making sure the bottom of the ear lines up with the line of the nose. Draw hair in the direction that it grows out from the head, rather than straight down from the top of the head. Draw in a neckline so that some of the hair can be hidden behind the neck.
They should also make the eyes approximately half way down the head. If the top of the head cannot fit on the paper because the eyes have been drawn first, then don’t try to fit it on the page. Basic shape and head proportions can also be found in the handout on beginning the head – front view by Jack Hamm, page 4. Facial feature arrangements form a triangle which helps place eyes and lips. Knowing these distances will help create a well-constructed realistic, human face.
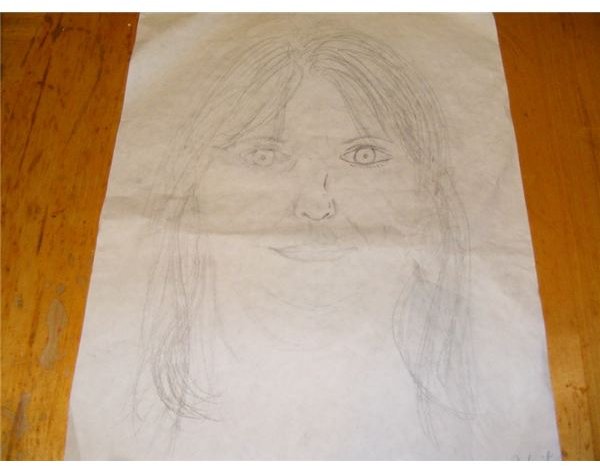
Drawing Their Own Face
Hints and Tips for Better Drawings
Use this grade 7 drawing lesson after other attempts at drawing human faces have been made. Have them draw a realistic human face on a small scale before they try to draw their own face. They can try to draw a friend’s face in a separate lesson as well.
- Lessons on shading parts of the human face can be done separately from line drawing. Use a series of lines to define the jawline rather than 1 line only. Try to avoid using erasers to achieve perfection.
- Provide each student with a small mirror so that they may examine details in their own face.
- Basic principles and proportions used in drawing human faces will really give your students confidence because you can remind them of the measurements they have taken. The teacher should attempt to draw their own face also. This demonstrates to students that it can be done and will also instill confidence in the students in their abilities.
- Draw samples on the board of parts such as the eyes to concentrate on details. Remind them to draw hairs in the direction that they grow in the eyebrow and hairline.
- They will also need to be shown how wide to draw a human neck. They will tend to draw it narrower than it is. The eyes may be the correct distance apart and the mouth close enough to the eyes, but with a narrow neck, the whole image will not look correct. Basic principles and proportions in drawing the human face will really give the student basic skills overall.
- Use a large piece of drawing paper and let students retry if they would like to.
Displaying Student Drawings
Displaying Student Drawings
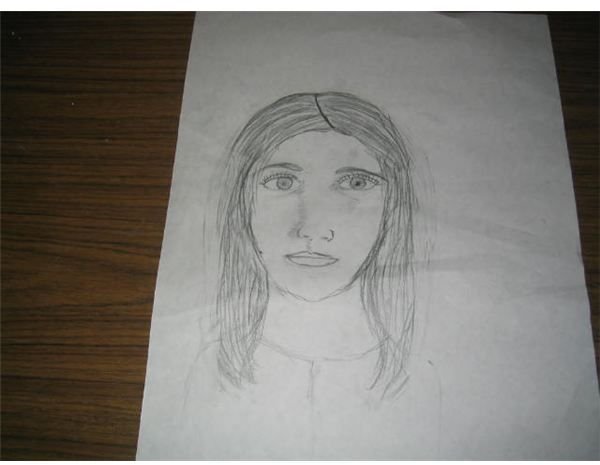
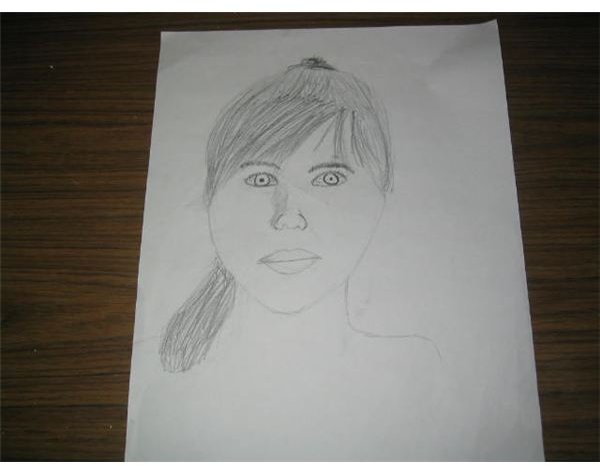
If the students have practiced with the magazine faces, display the magazine faces, upside down with their drawings of the magazines. Use a title such as “The Human Face - First Attempt”. Next, display the student’s attempt at drawing a human face. Date this display and title it “The Human Face - Second Attempt”. Finally, display the students’ faces together near their classroom without names on the drawings. Have others guess at whose portrait it is. Title this display, “Human Faces in The Classroom”.
Next, try having the students paint their own face and display their drawings with their portraits.
Your 7th grade students will surely enjoy learning how to draw human faces in these drawing lesson plans. They will be amazed at the results they can achieve after learning the proportions on a human face in a hands-on way.
References
-
Photos: Lila S. Kallstrom
References: Author’s experience
Book: Hamm, Jack. Drawing the Head and Figure. Perigee Trade. 1982.
This post is part of the series: 7th Grade Art Lessons on Human Faces - Pencil Drawing, Painting, Mask Making
This series will provide 7th grade art lessons on how to draw faces, how to paint portraits and how to create masks of human faces. These mediums and methods will help with drawing faces and then drawing their own faces. Students will learn to build upon their beginning drawing and painting skills.